
Well, I suppose it was only a matter of time before I picked up this one. It ticks most of the boxes I seem to like in my hobbies: dangerous, expensive (though it doesn’t need to be), and fun. I can’t exactly explain it, but you get such a rush from handling molten metal.
It’s been on my list for a while now actually- I’ve wanted to try investment casting with SLA 3D printed patterns, but never had access to the right kind of machine. Thinking SLA machines were prohibitively expensive, and realizing that casting was complicated enough without a printing element, I decided I should probably start out with carved wax patterns. Even without an expensive printer, investment casting still looks like a daunting undertaking. It remained on the list but a few other projects jumped ahead of it.
Due to COVID-19, Sam and I found ourselves spending a lot of time back home in New Jersey (living in the country during a pandemic is much more palatable than living in a city) and he picked up an Elegoo Mars 3D printer. I was blown away- a sub-$300 SLA machine. We liked it so much that I grabbed one too- the Mars Pro (same machine with a few upgrades), and ordered some castable printer resin from Turkey (Power Resins are incredible), a few bars of bronze from McMaster, and some casting investment (plaster) from my favorite jewelry supplier (Rio Grande). After a quick raid of Sam’s nanofab bench for a few furnaces and a crucible, I was off to the races.
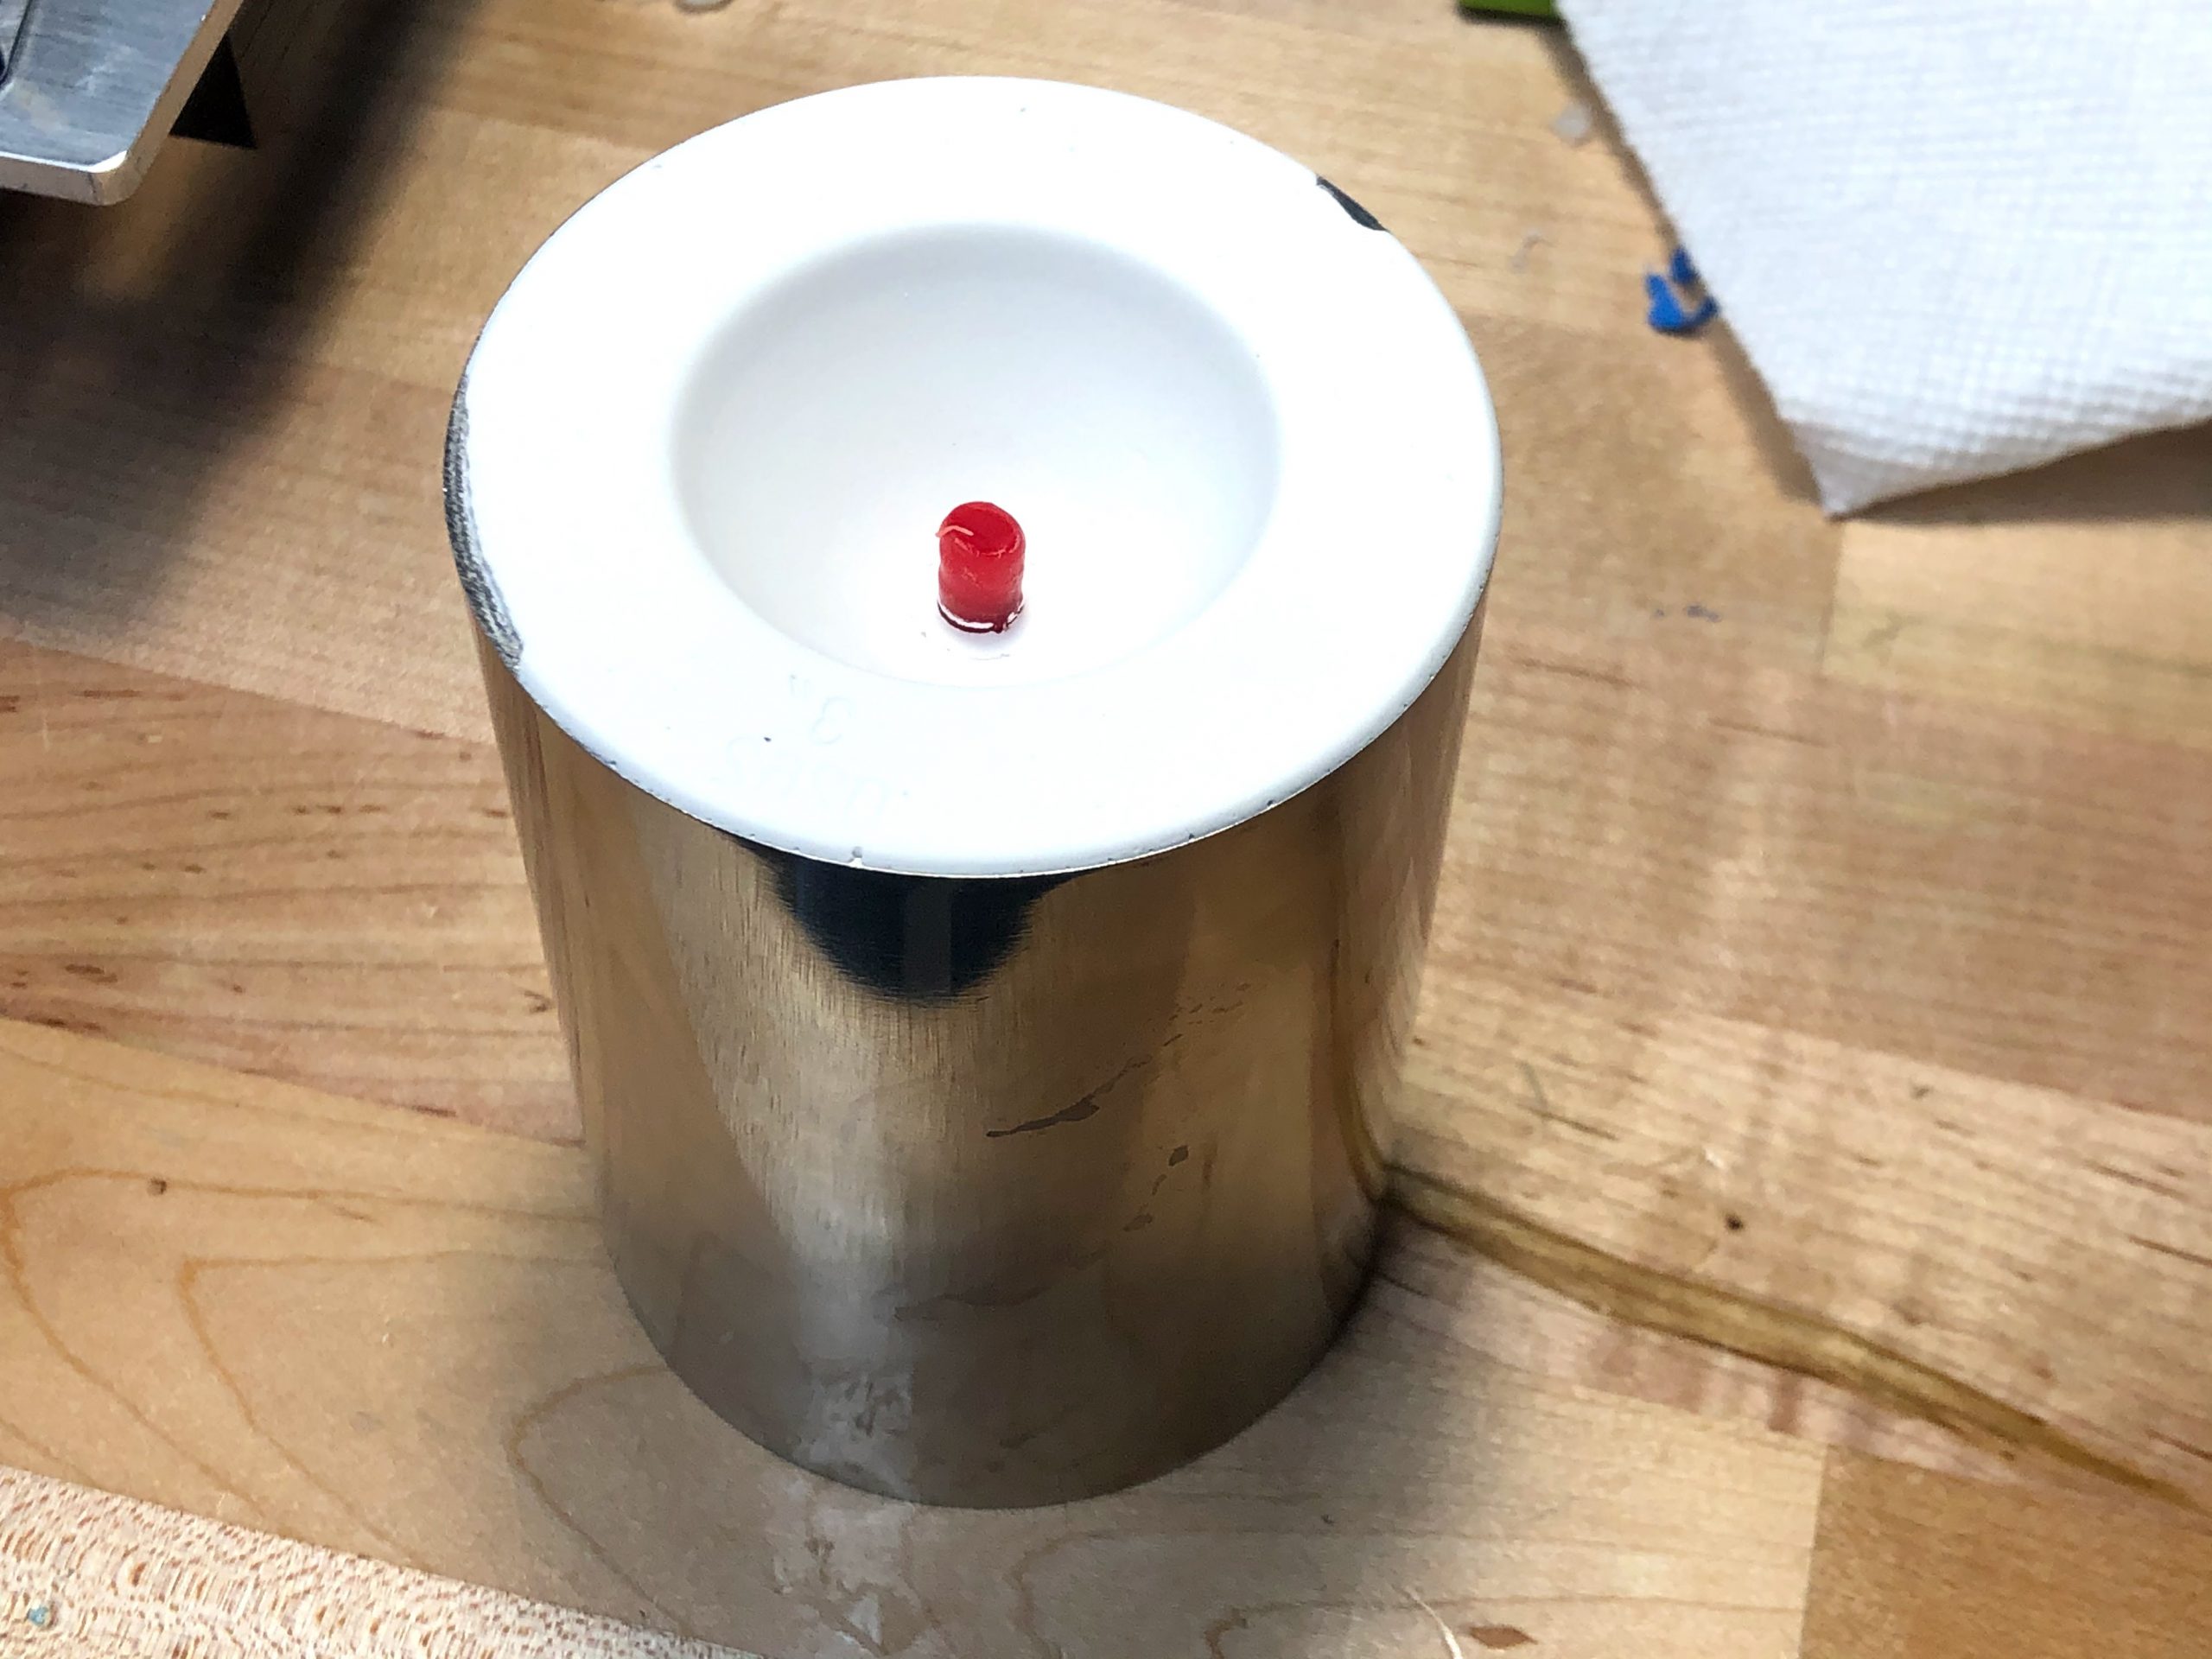
Oh- I also had to buy sprue wax (wax rods), a flask (stainless steel cylinder), a sprue base (rubber plug), a wax pen, and probably some other stuff that I’m forgetting right now. And I built a shitty vacuum chamber (I can hear Sam laughing at me now). I learned about all this stuff from the VOG YouTube Channel, as well as Practical Casting by Tim McCreight. I’ll list my equipment and process at the end of the post.
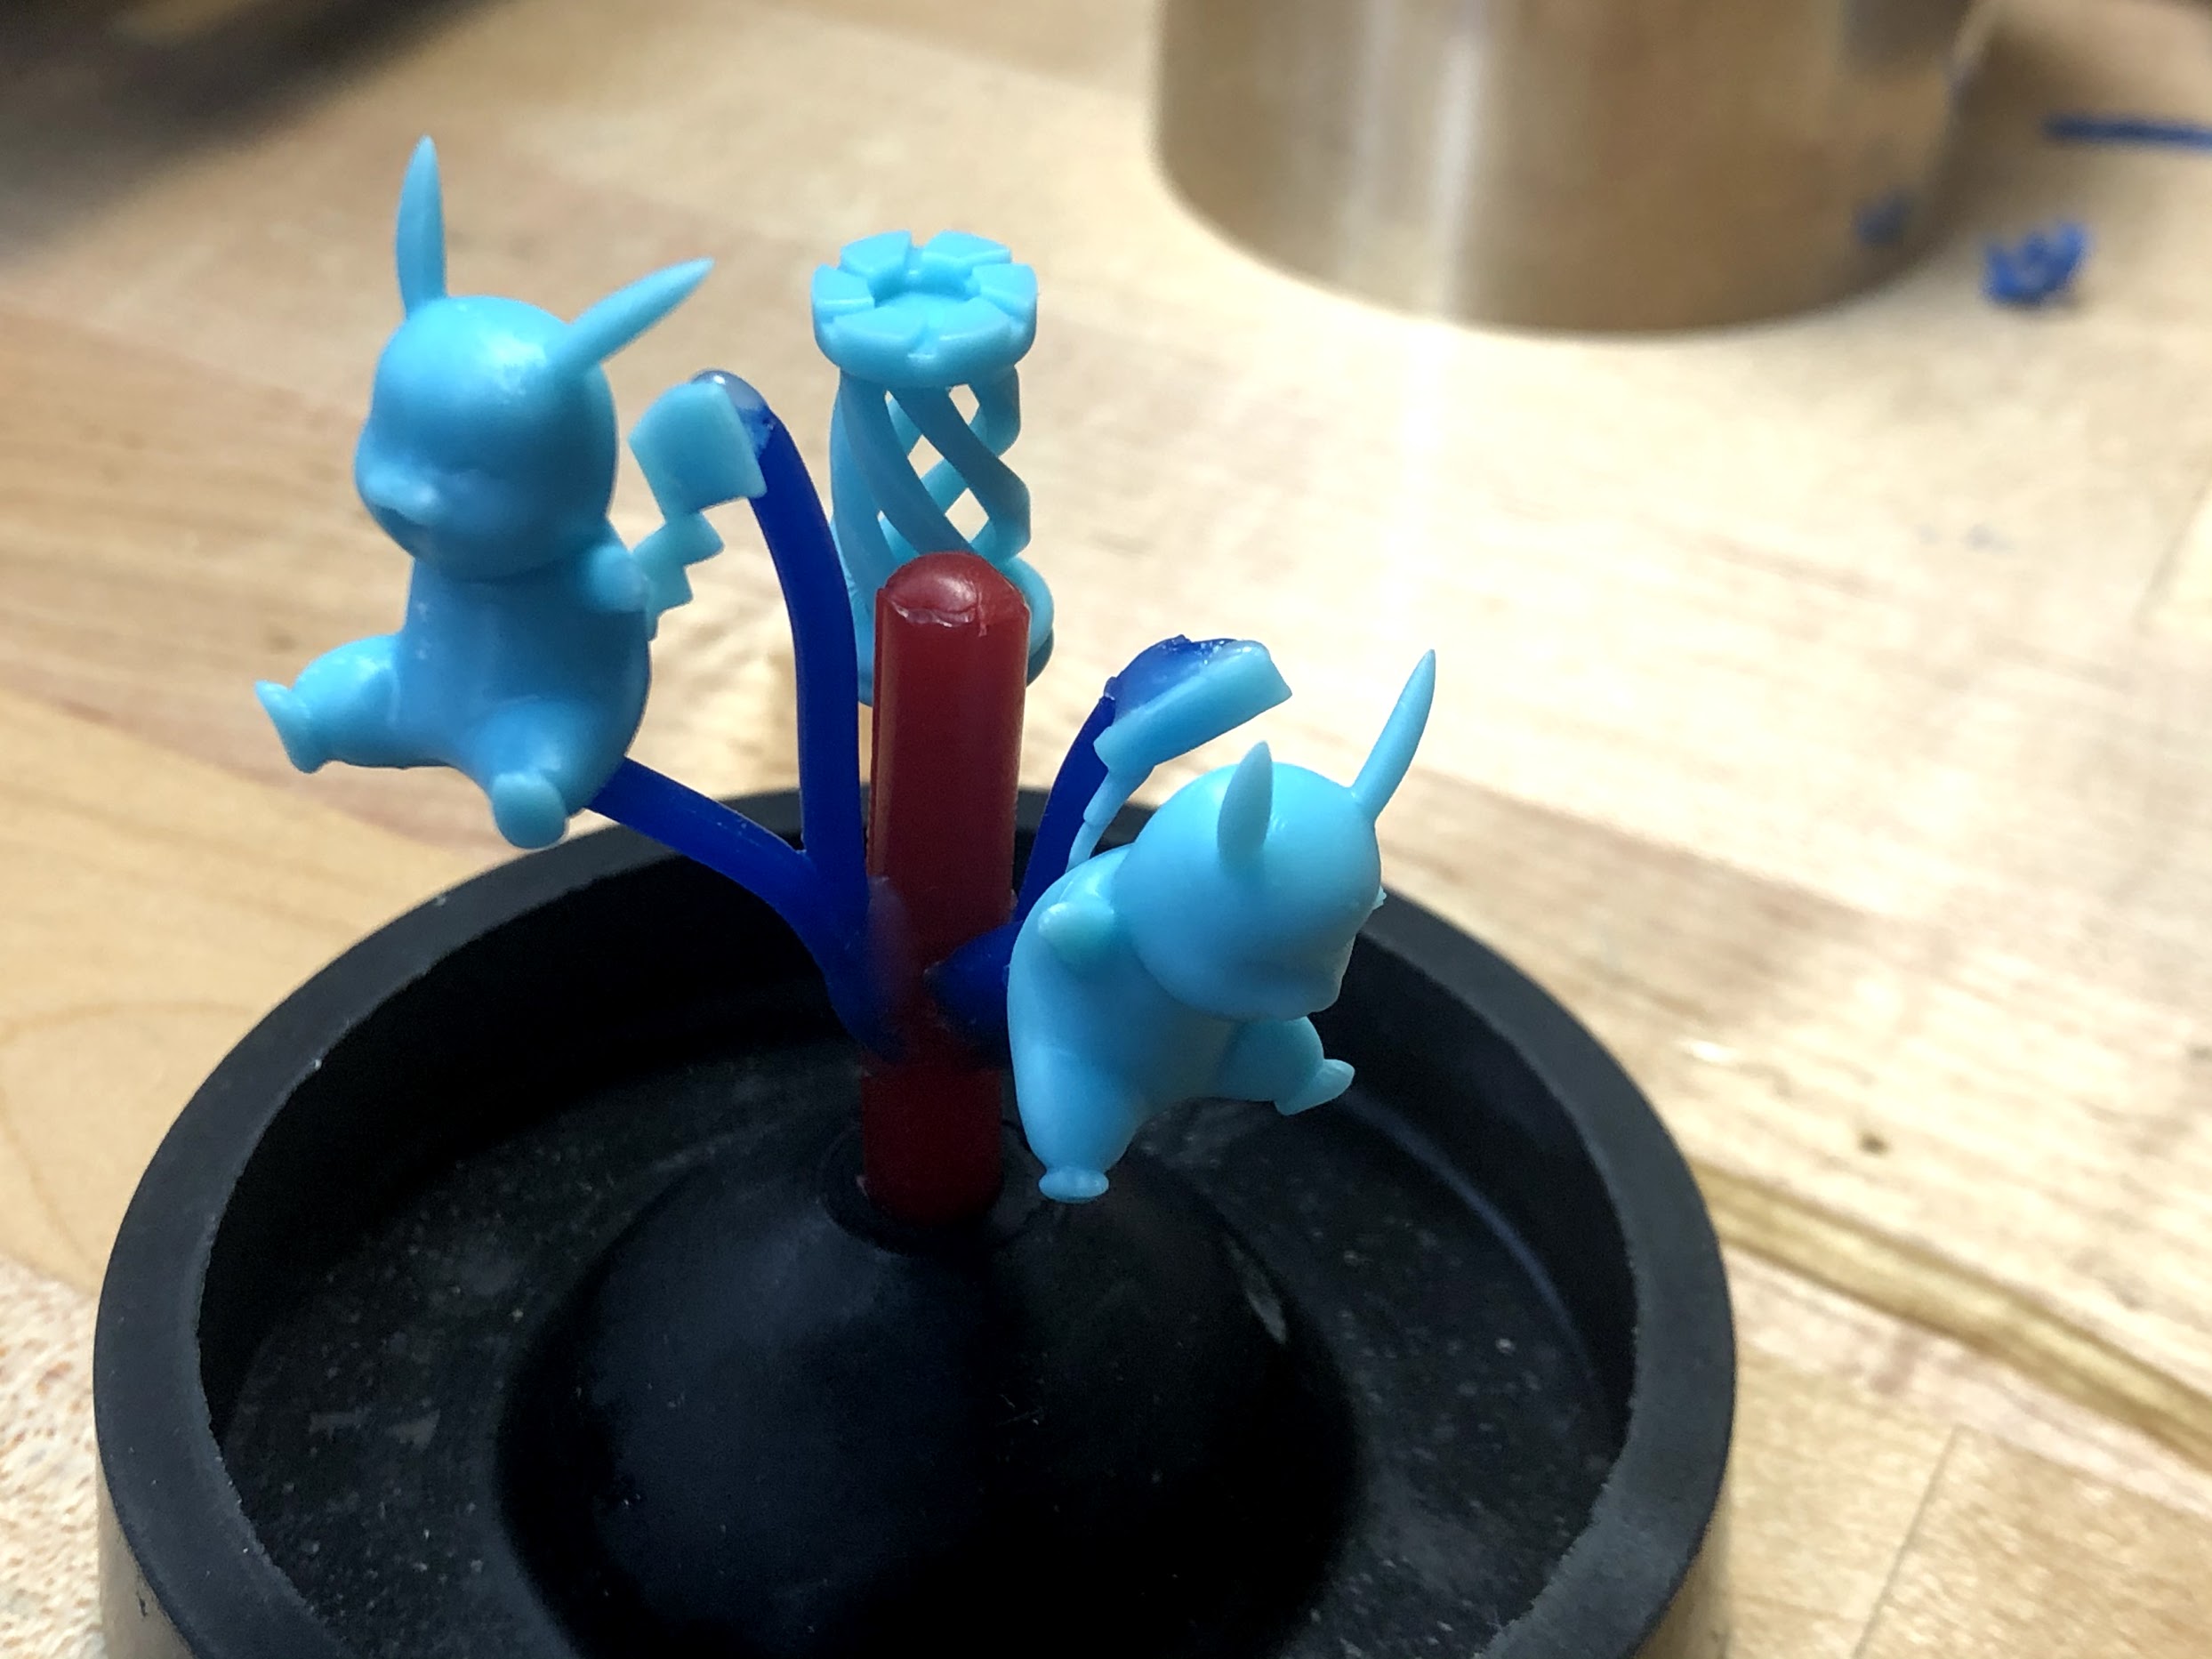
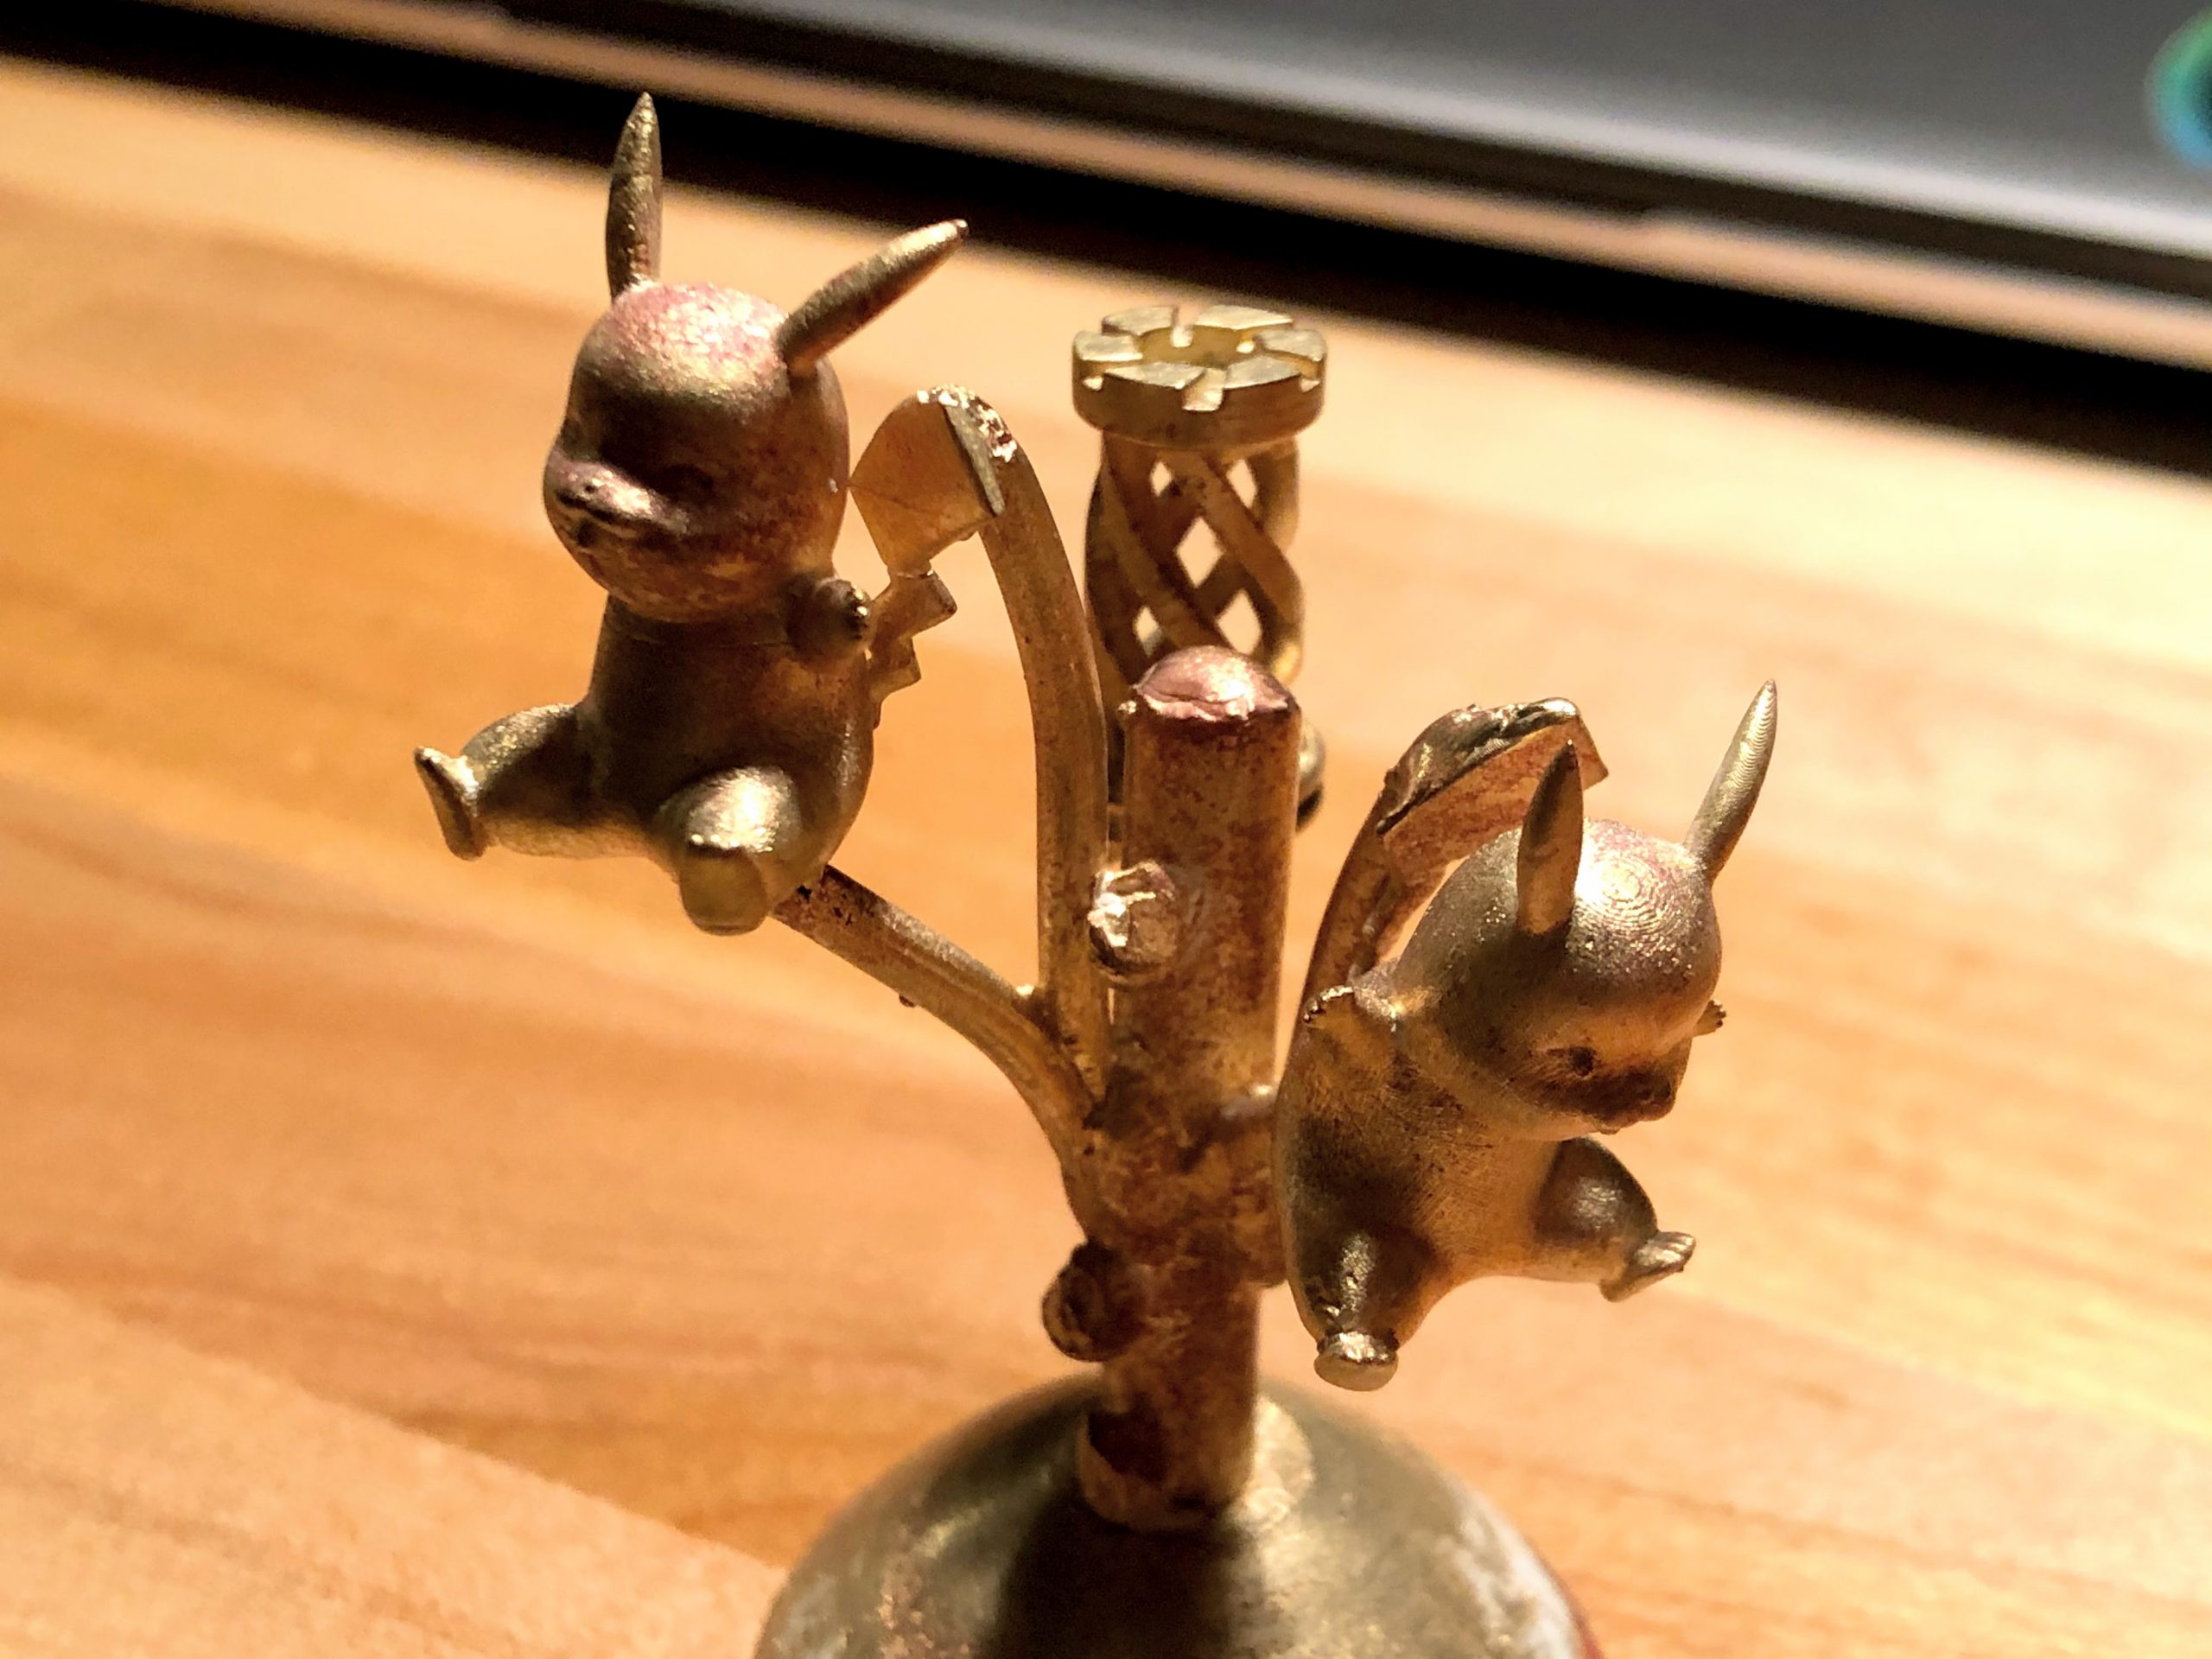
For the first experiment, I printed a few Pikachus and sprued (the process of attaching a pattern to a wax tree made up of rods called sprues) them up. I stuck the tree on a sprue base, popped a flask on top. I mixed up some investment and poured it in, then popped that in my vacuum chamber to debubble. Once that was fully set (less than an hour, but I came back the next day) I started burnout. Essentially, this is where we melt the wax and burn the plastic pattern, leaving a hollow cavity all while baking the investment. This was an entertaining process, since I was using an oven with analog temperature control. Burnout schedules generally have specific ramp times and hold times, so I came back every 20 minutes to adjust the dial. I’m a bad PID controller. Once burnout was complete (~6-8 hours, but I kept the flask at temperature while melting the metal), I dropped some bronze in a crucible and popped it in the other furnace, and started the melt. Oh also- I was using an alumina crucible, so I prepped it the day before by melting a bit of Borax in it. This creates a glass which coats the sides to protect it. I think, at least. Some sources say to do that, some say not to. I don’t do this with my graphite crucibles. Anyway, once the bronze was molten (that’s a fun phrase), I put a silicone disk which I had cast on top of the vacuum chamber. The disk had a hole in the center, and so did the chamber lid. By placing the flask on top of the silicone disk, I can draw a vacuum through the plaster, which is porous. This helps to pull molten metal into every bit of the cavity, rather than relying on gravity alone. At this point, I had to work fast because the hot flask began to melt the silicone disk. With help from my Dad I took the crucible and carefully poured metal into the cavity. It didn’t look like any metal actually made its way past the opening, as it seemed to pool up on top almost immediately. After letting it sit for a few minutes, I used tongs to dunk the flask in a bucket of water. Once the steam subsided, I reached in and, to my surprise, actually felt a chunk of metal that seemed to be approximately the right shape. To me even grater surprise, when I pulled it out of the bucket, it really was the right shape (aside from a few defects)!
-
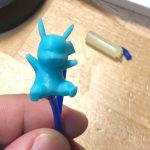
- PikaSprue
-
- PikaSprue

-
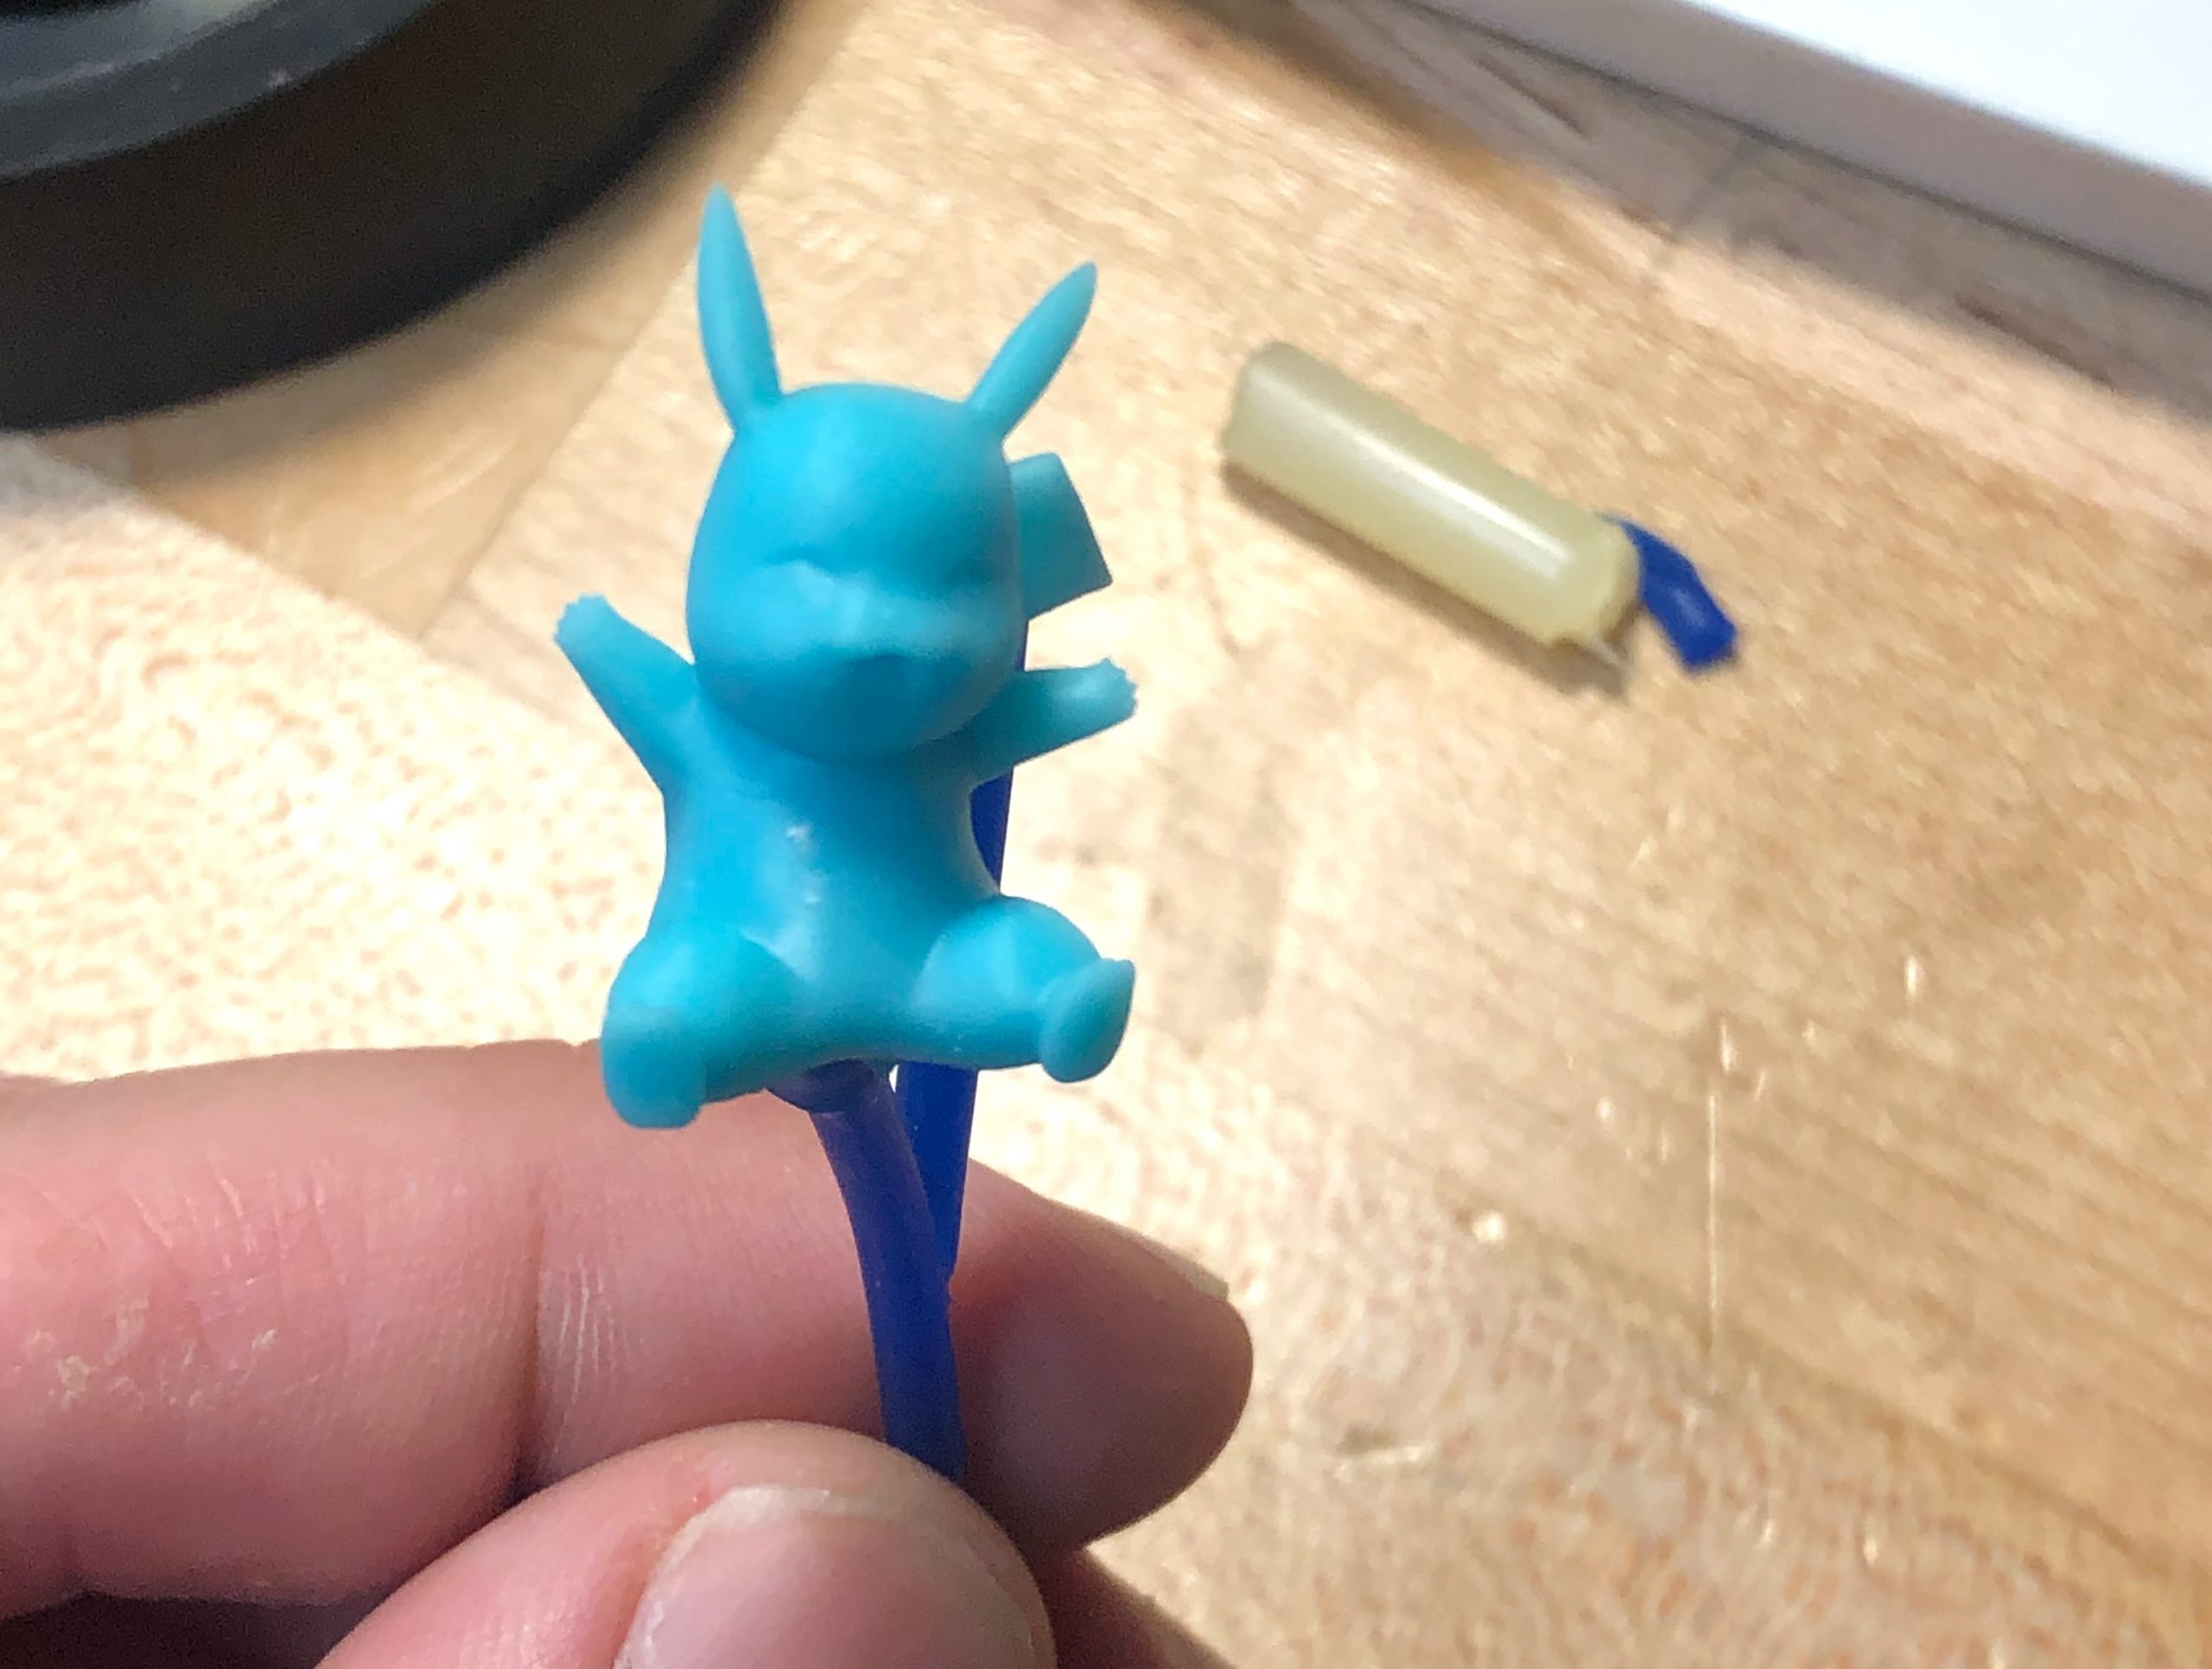
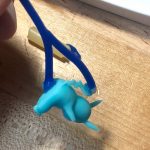
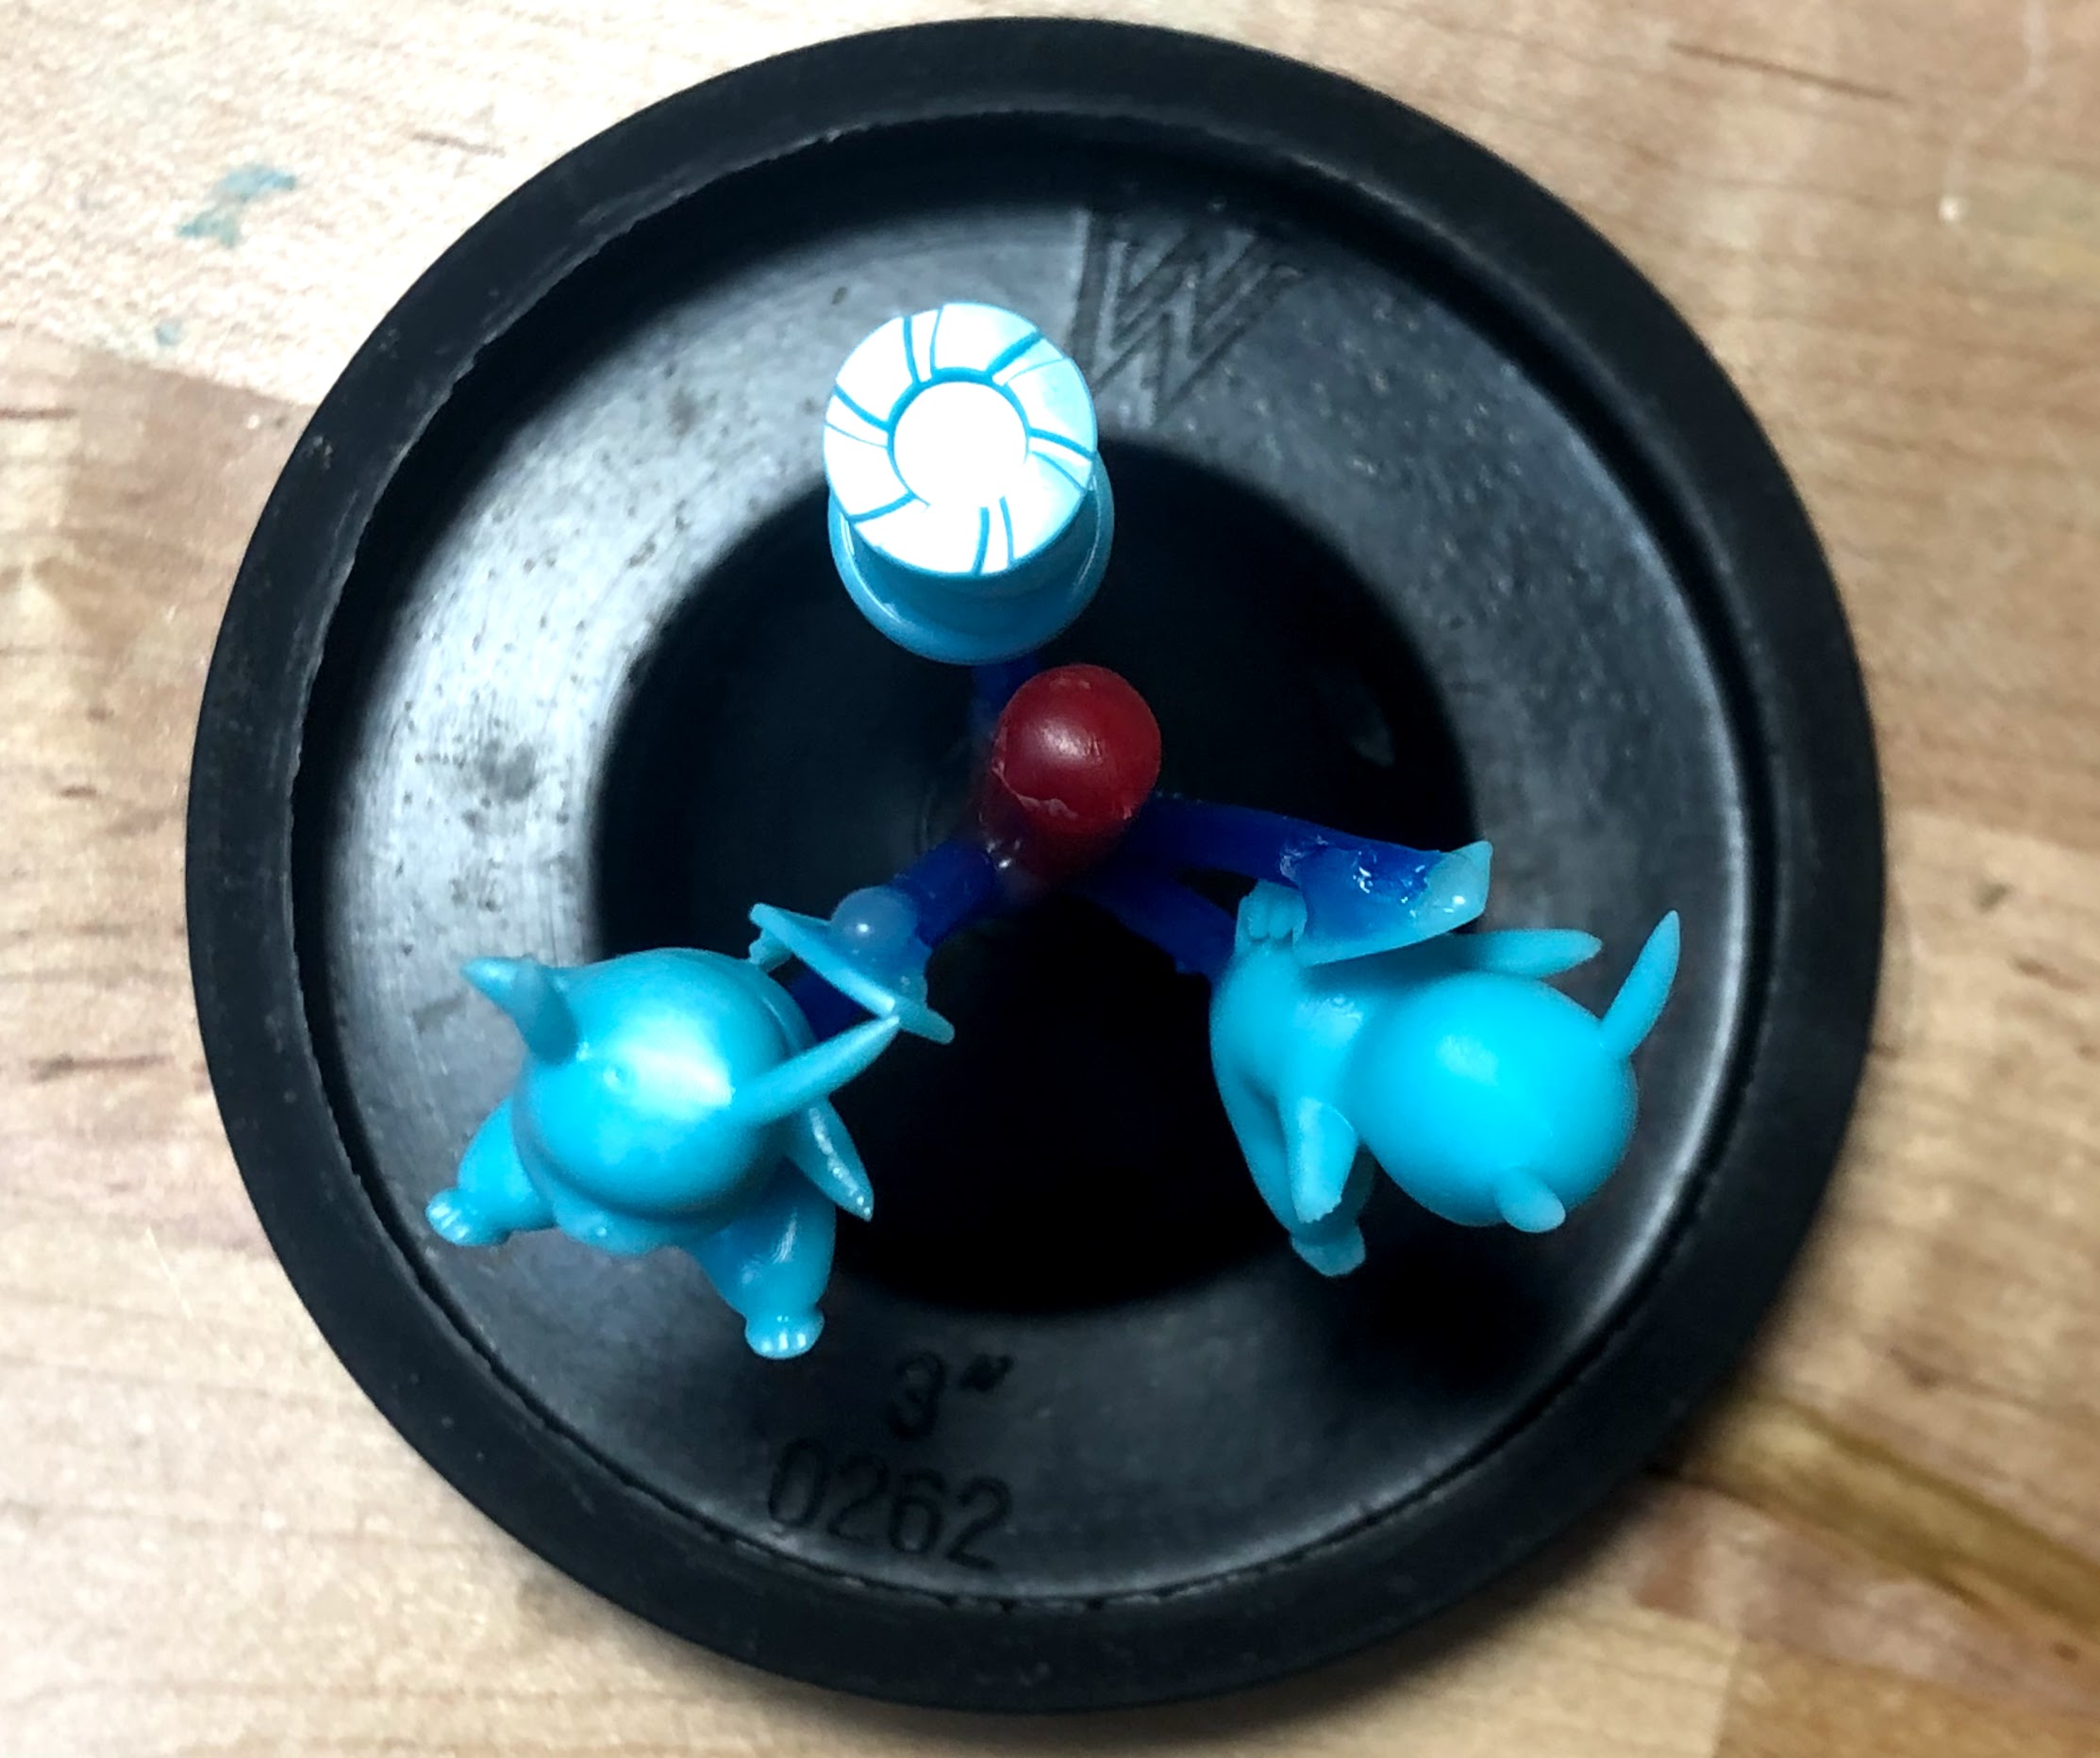
- The full pattern tree set in the sprue base
-
- The full pattern tree set in the sprue base
-
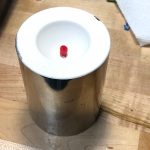
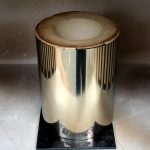
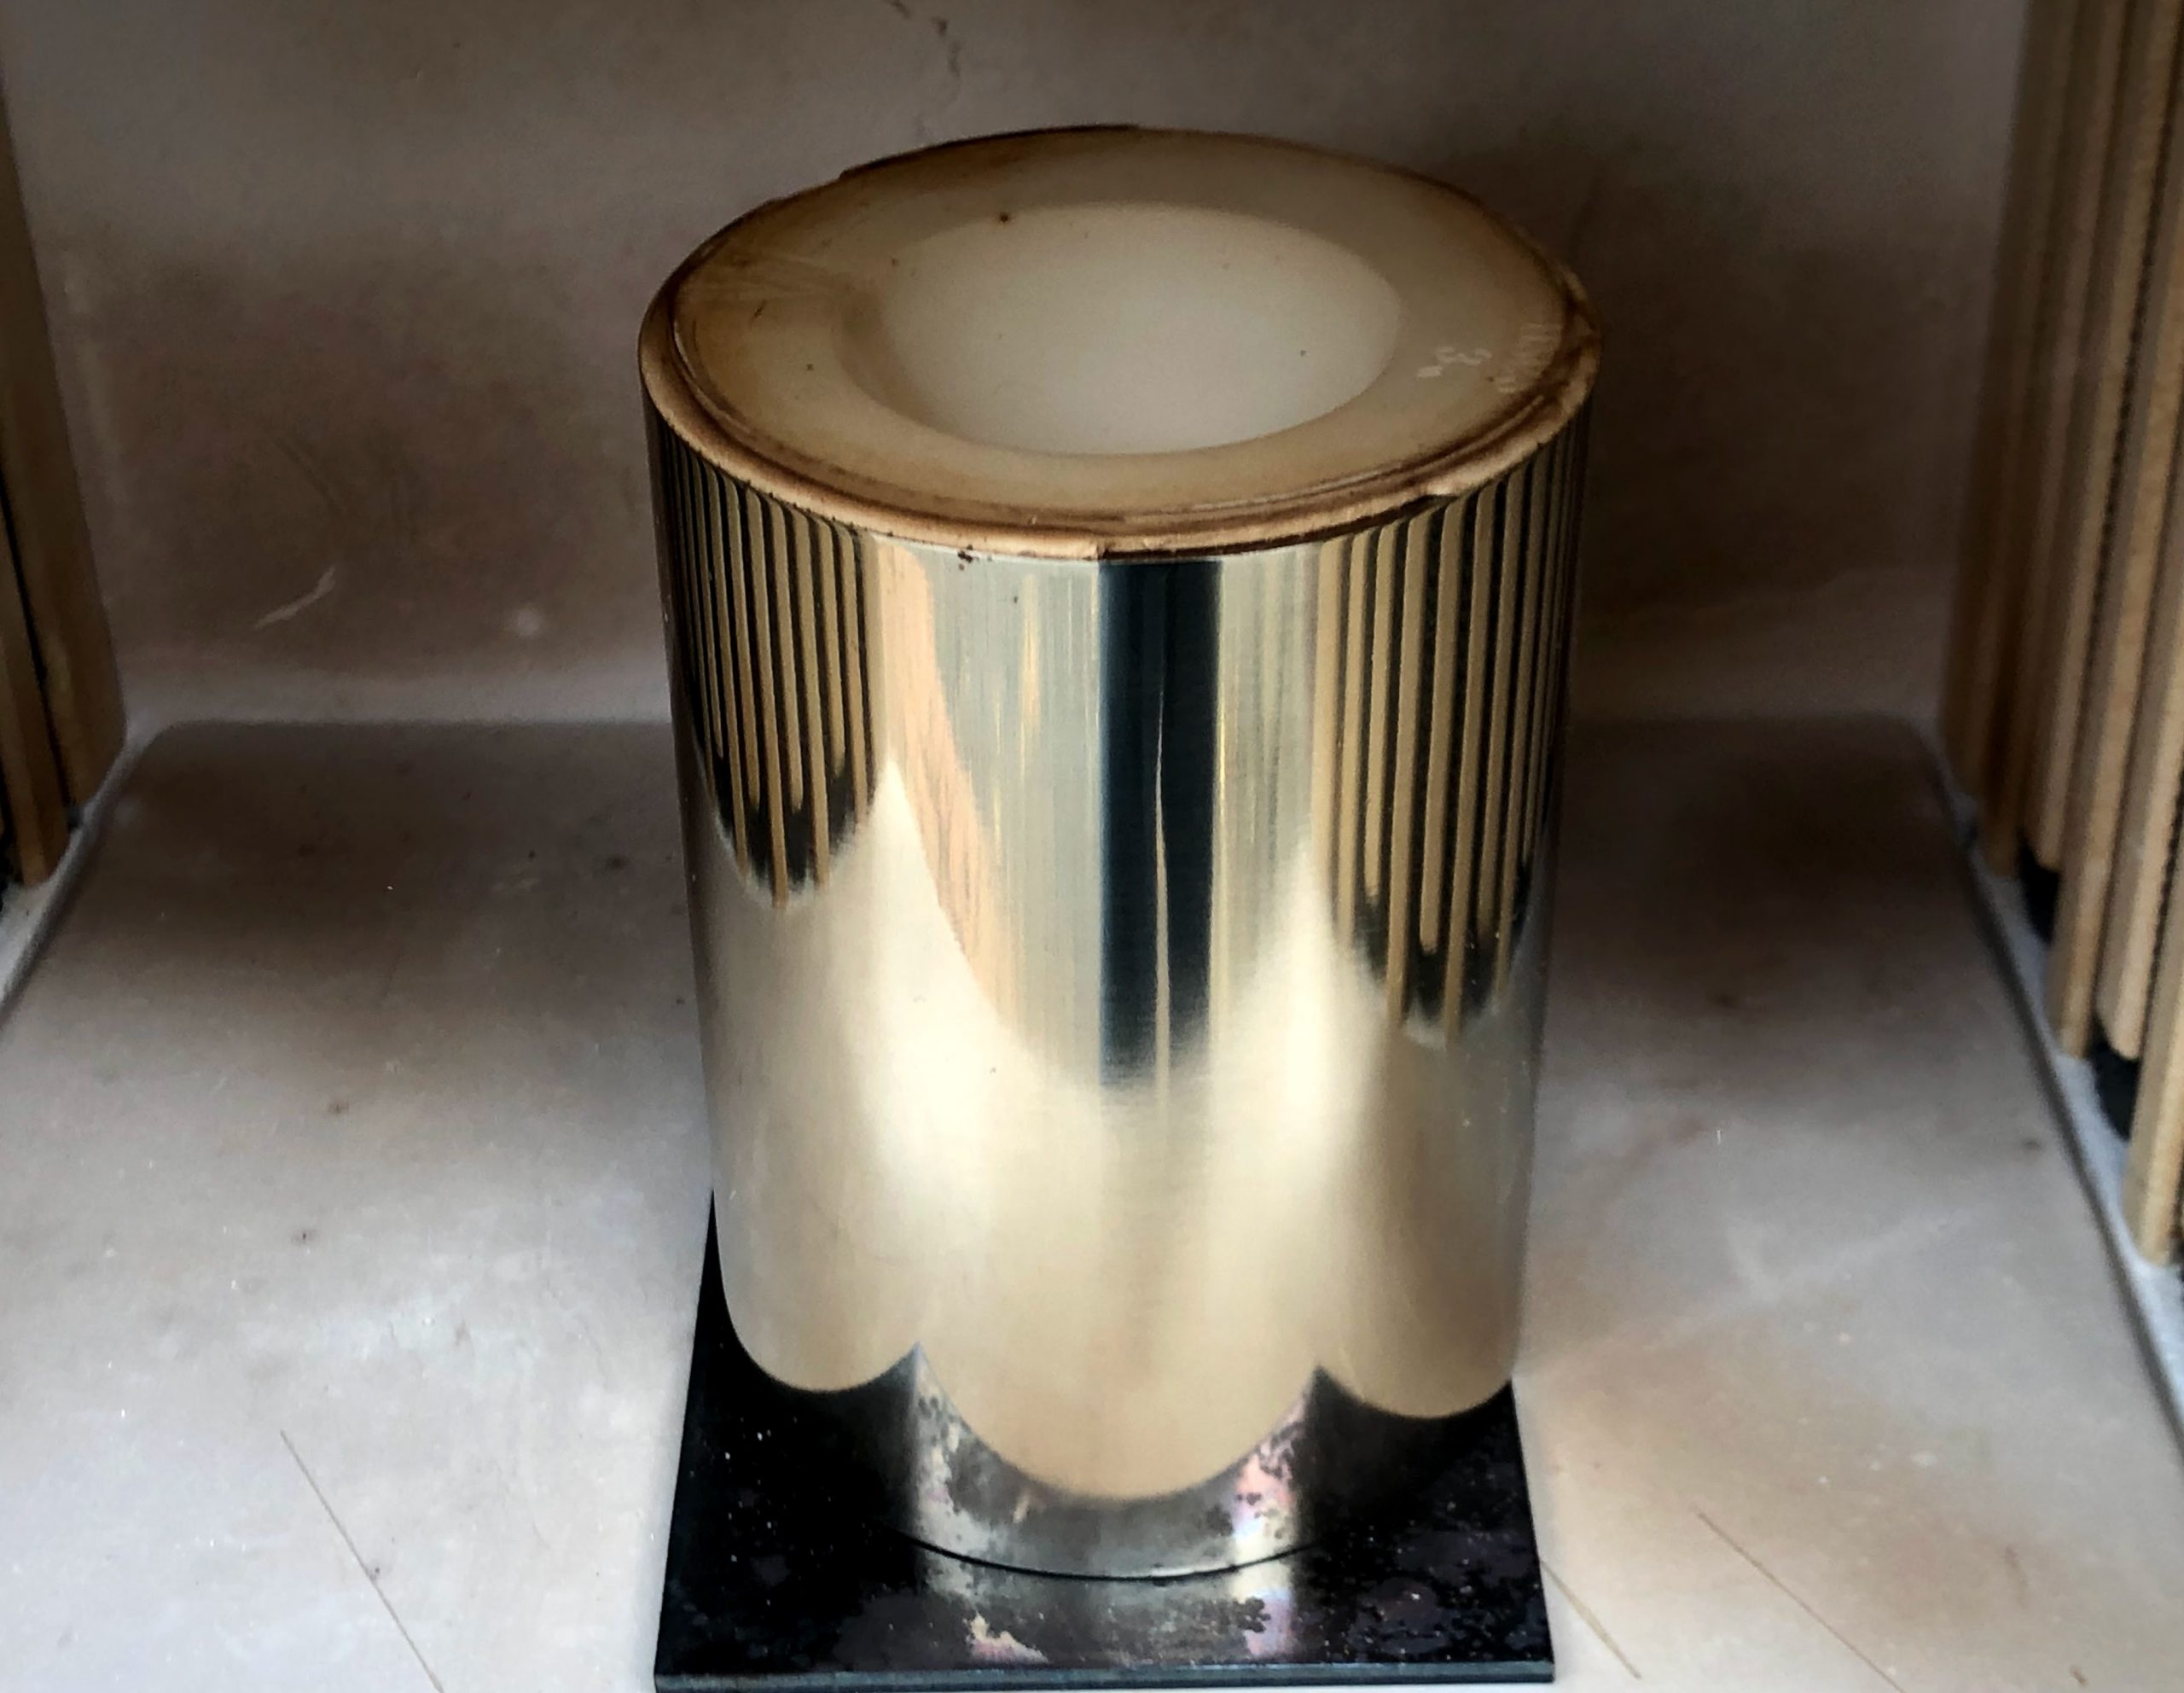
- Flask full of hardened investment
-
- Burnout in a furnace
-
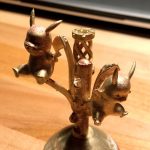
- Post-Pour, the bronze part tree
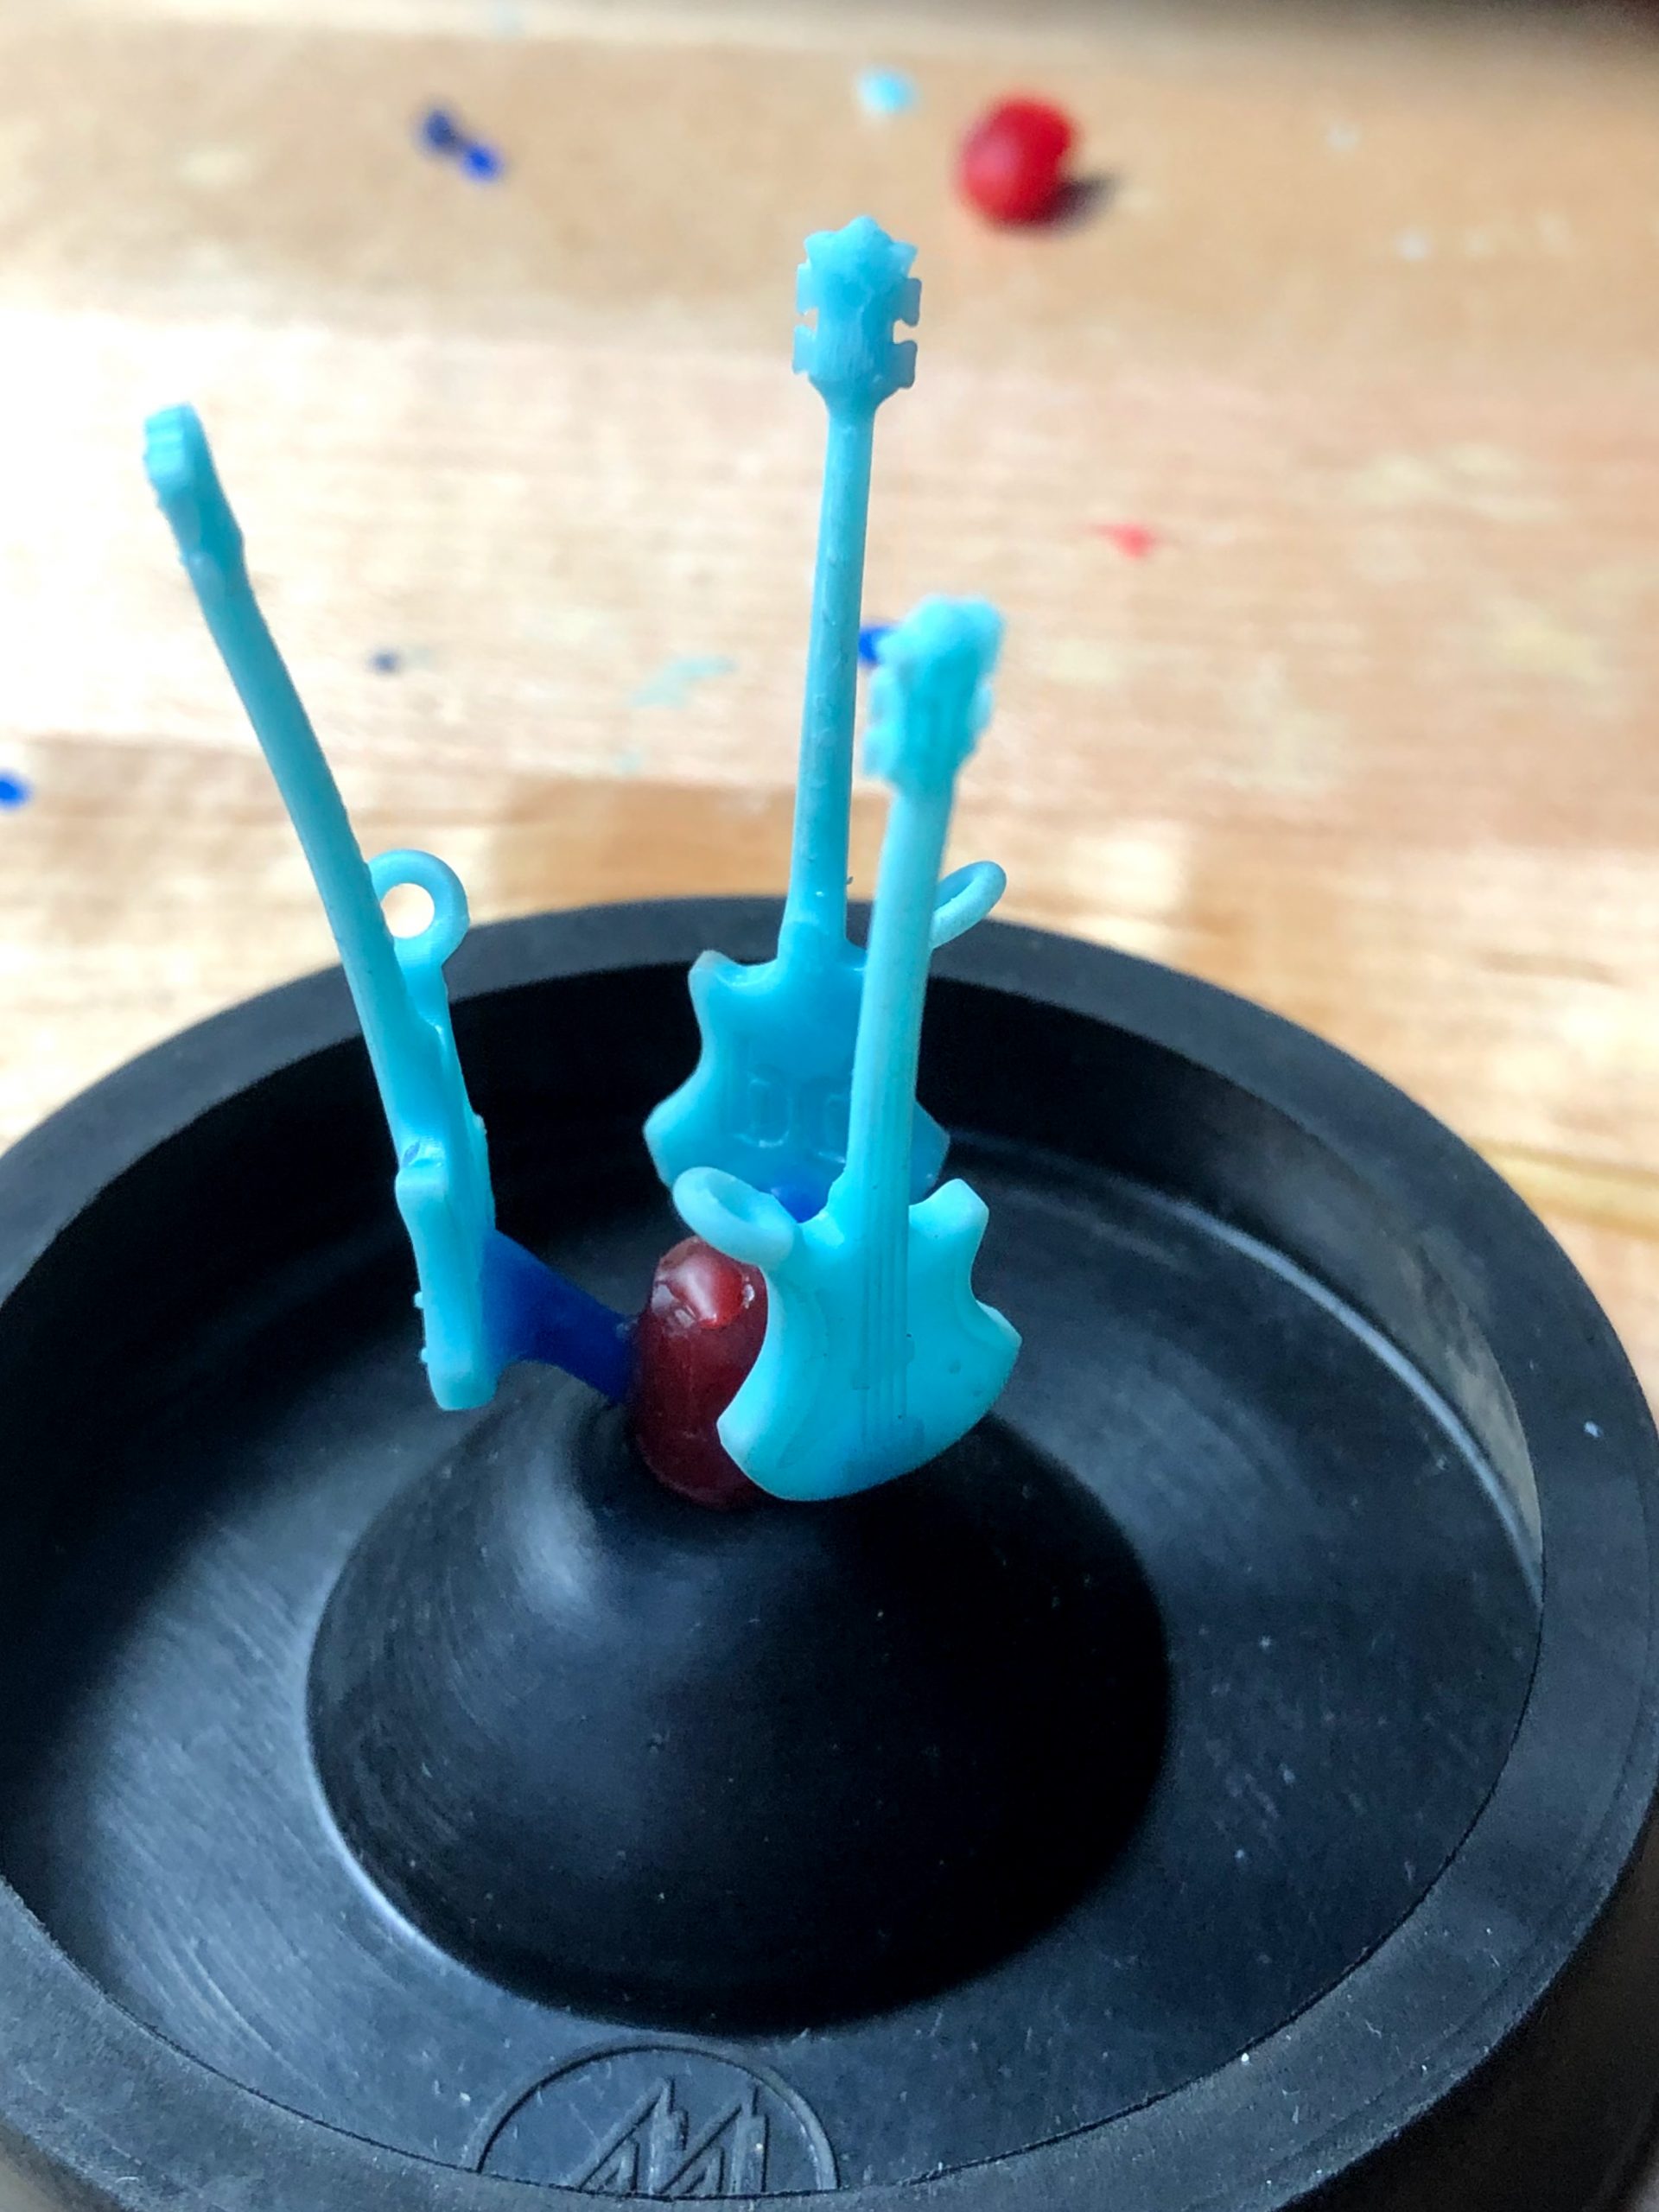
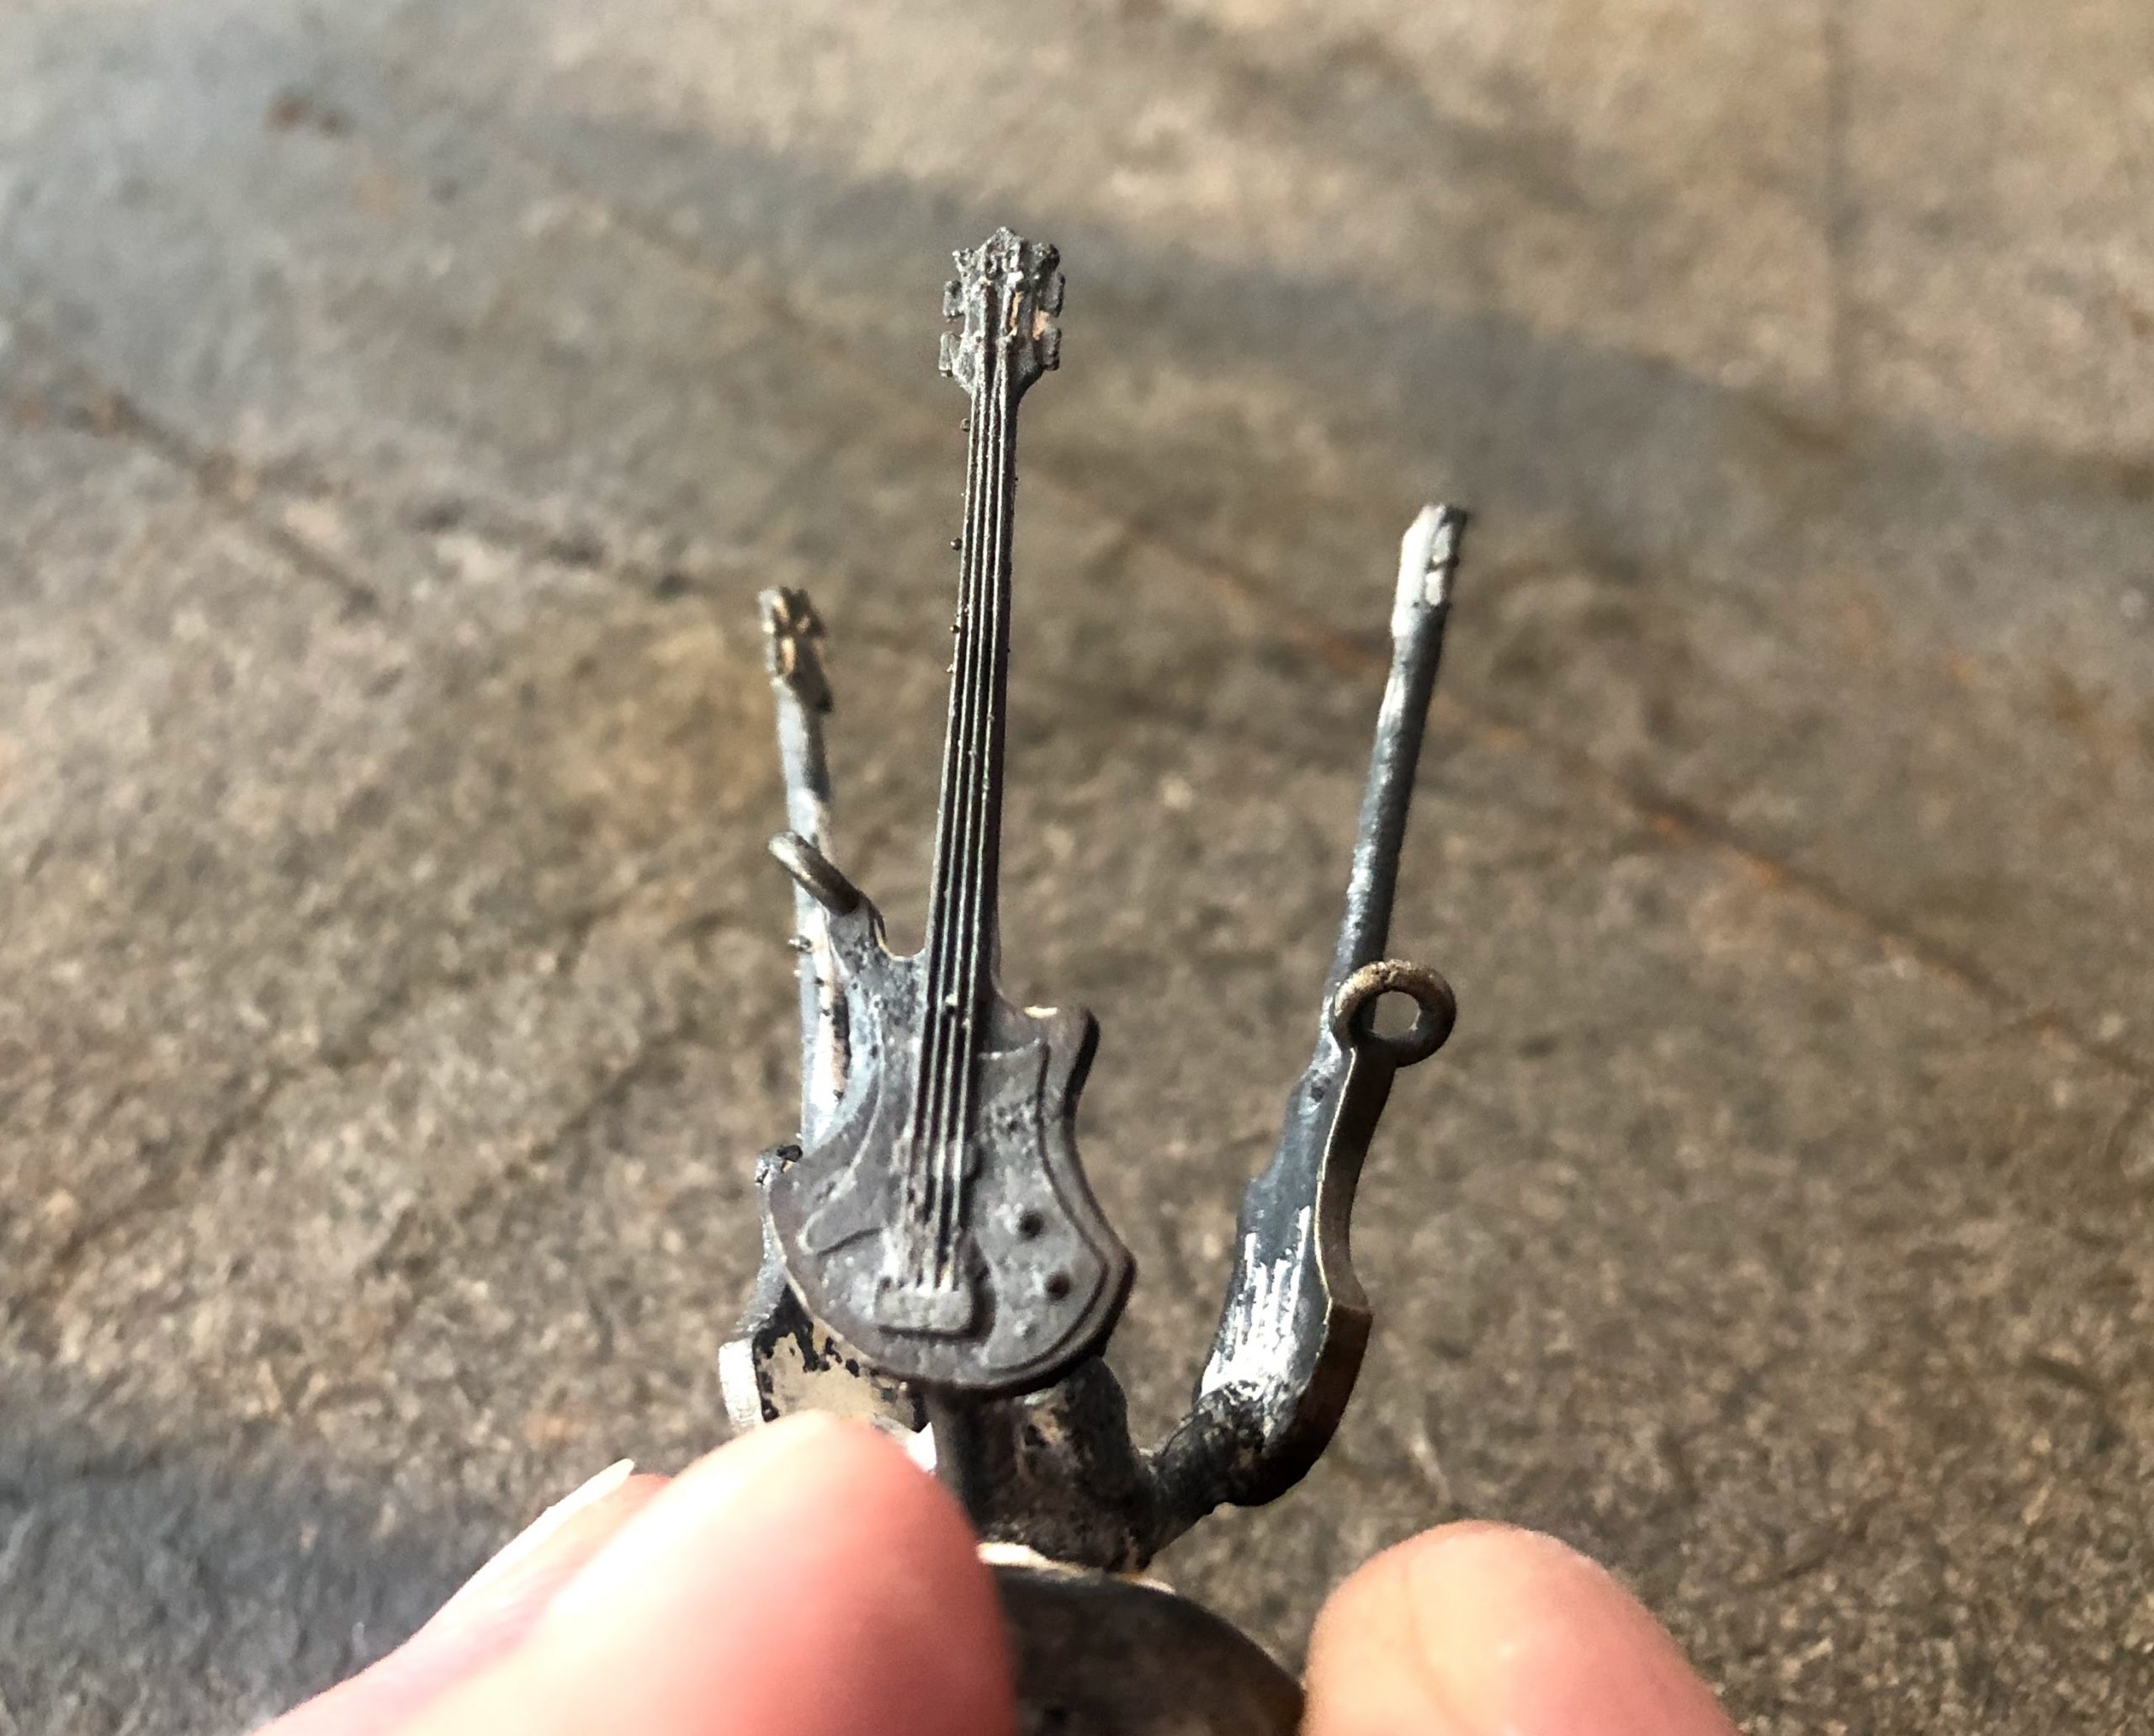
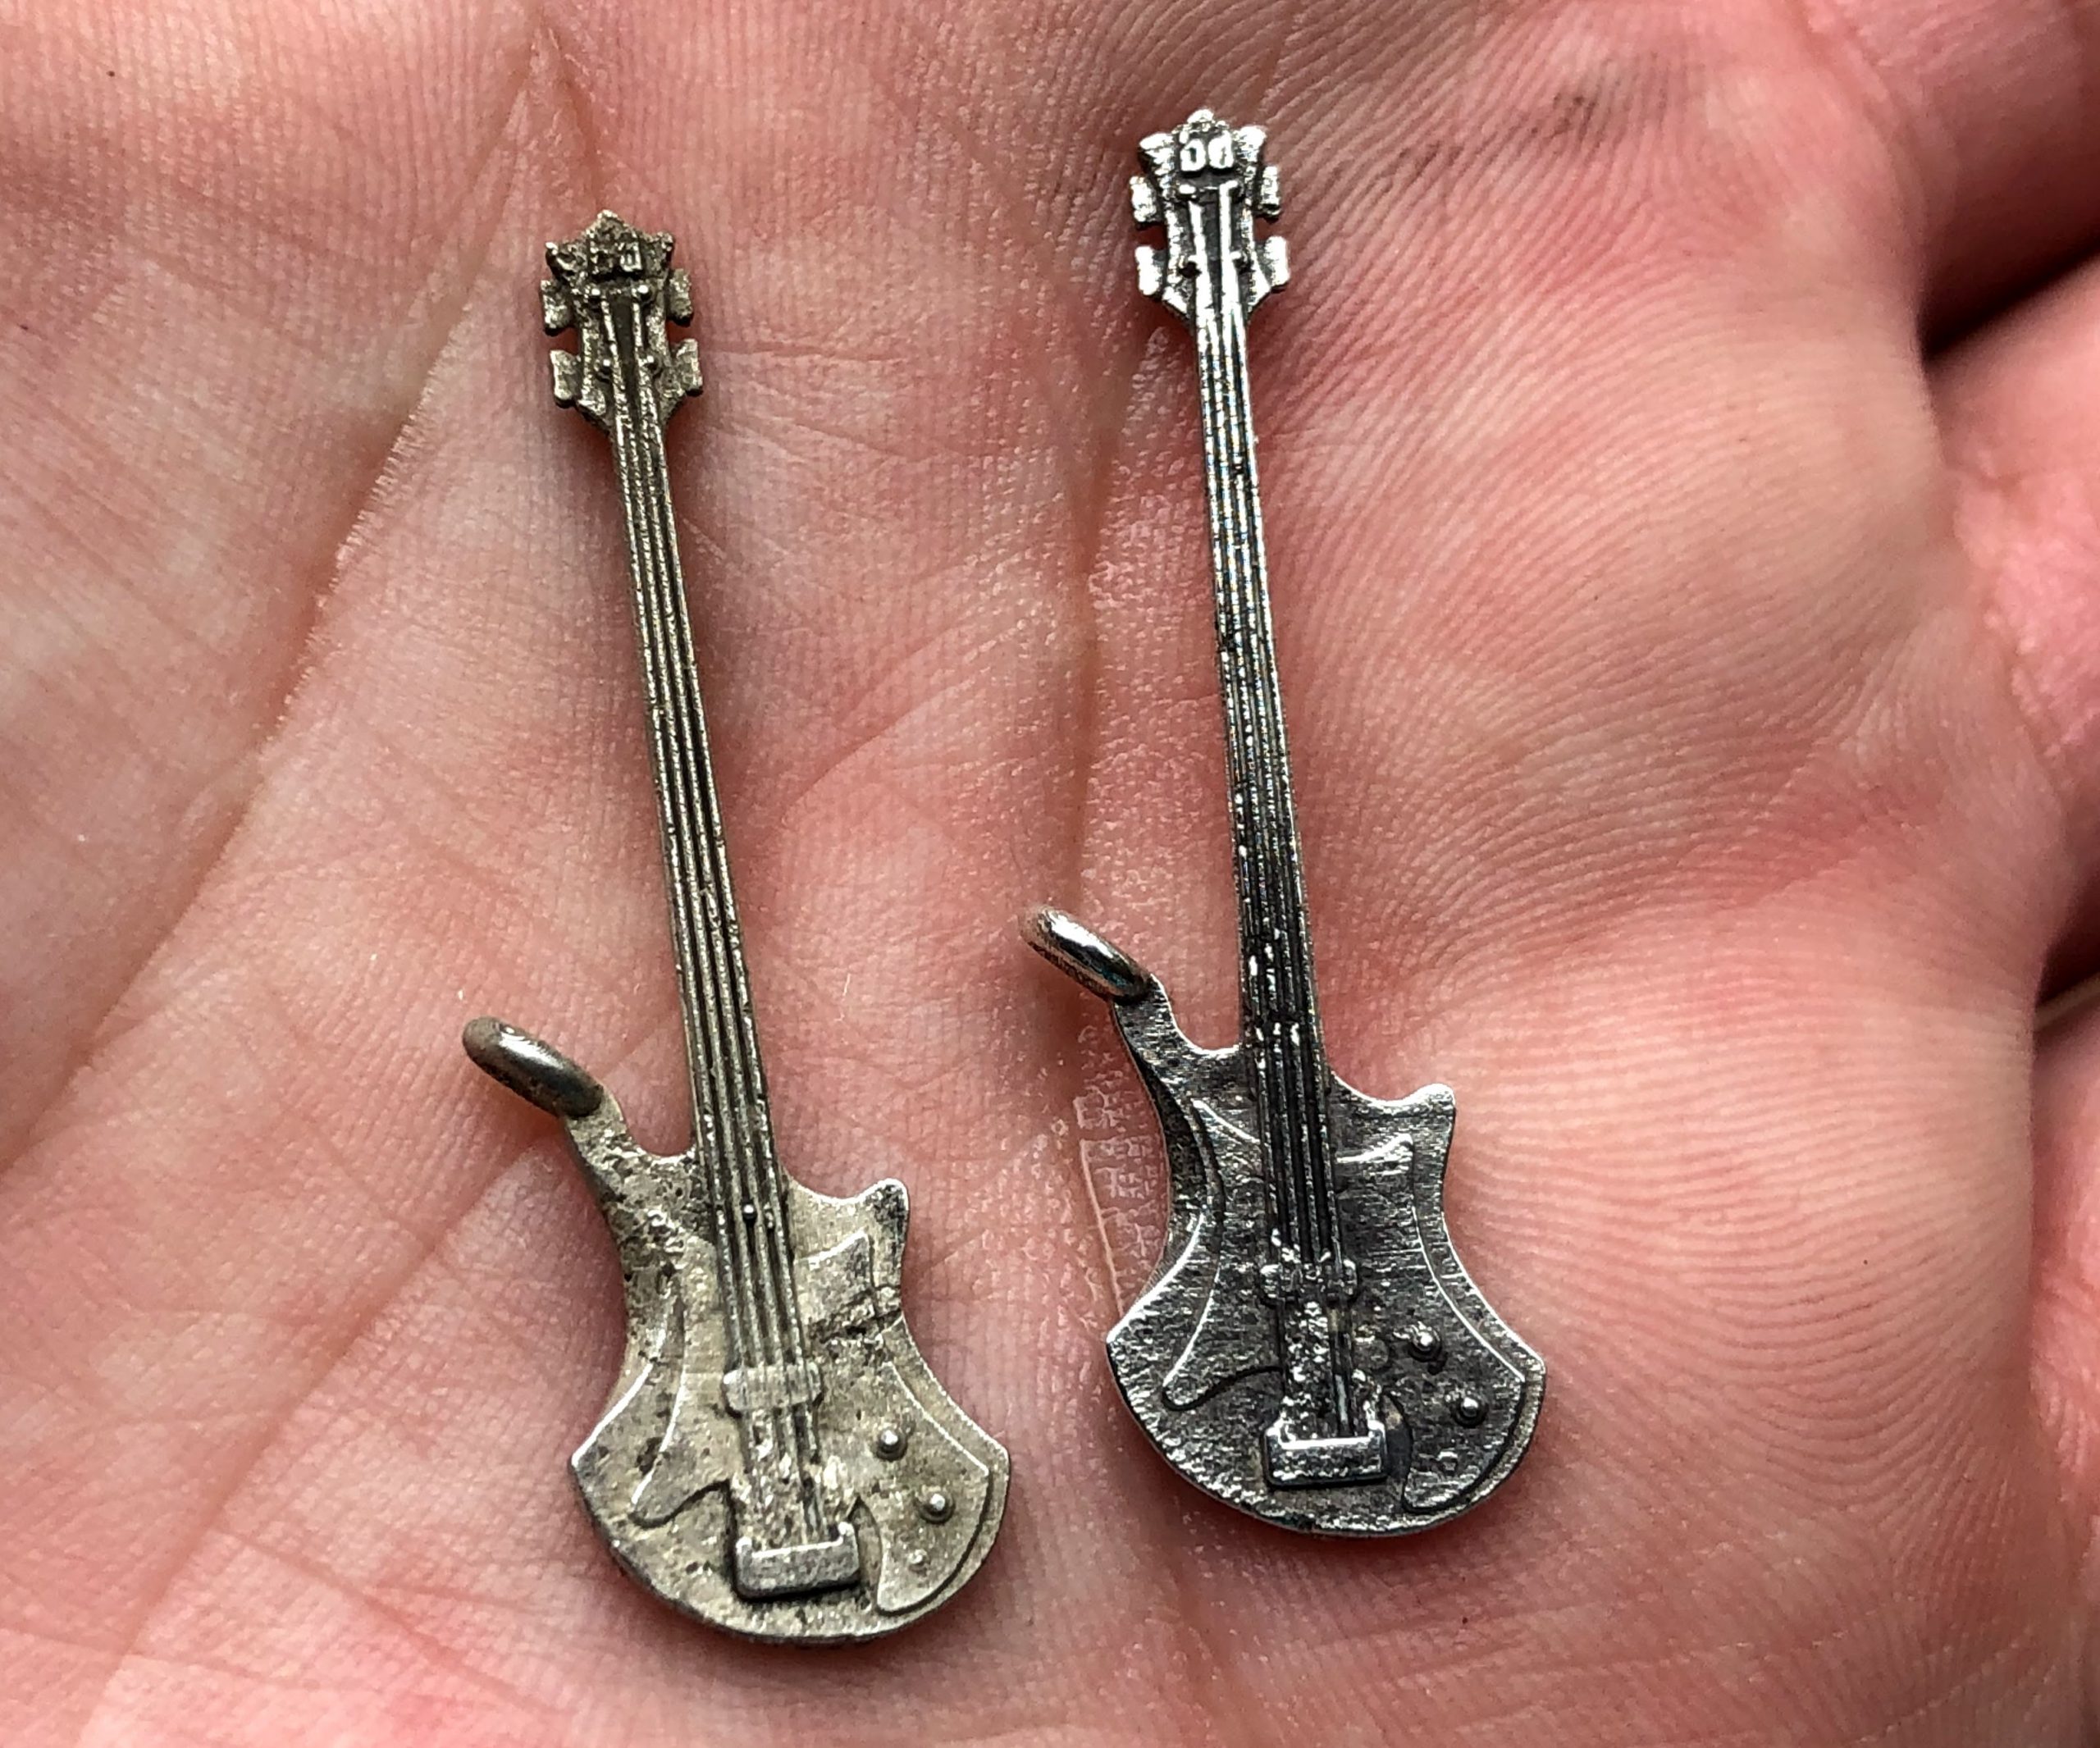
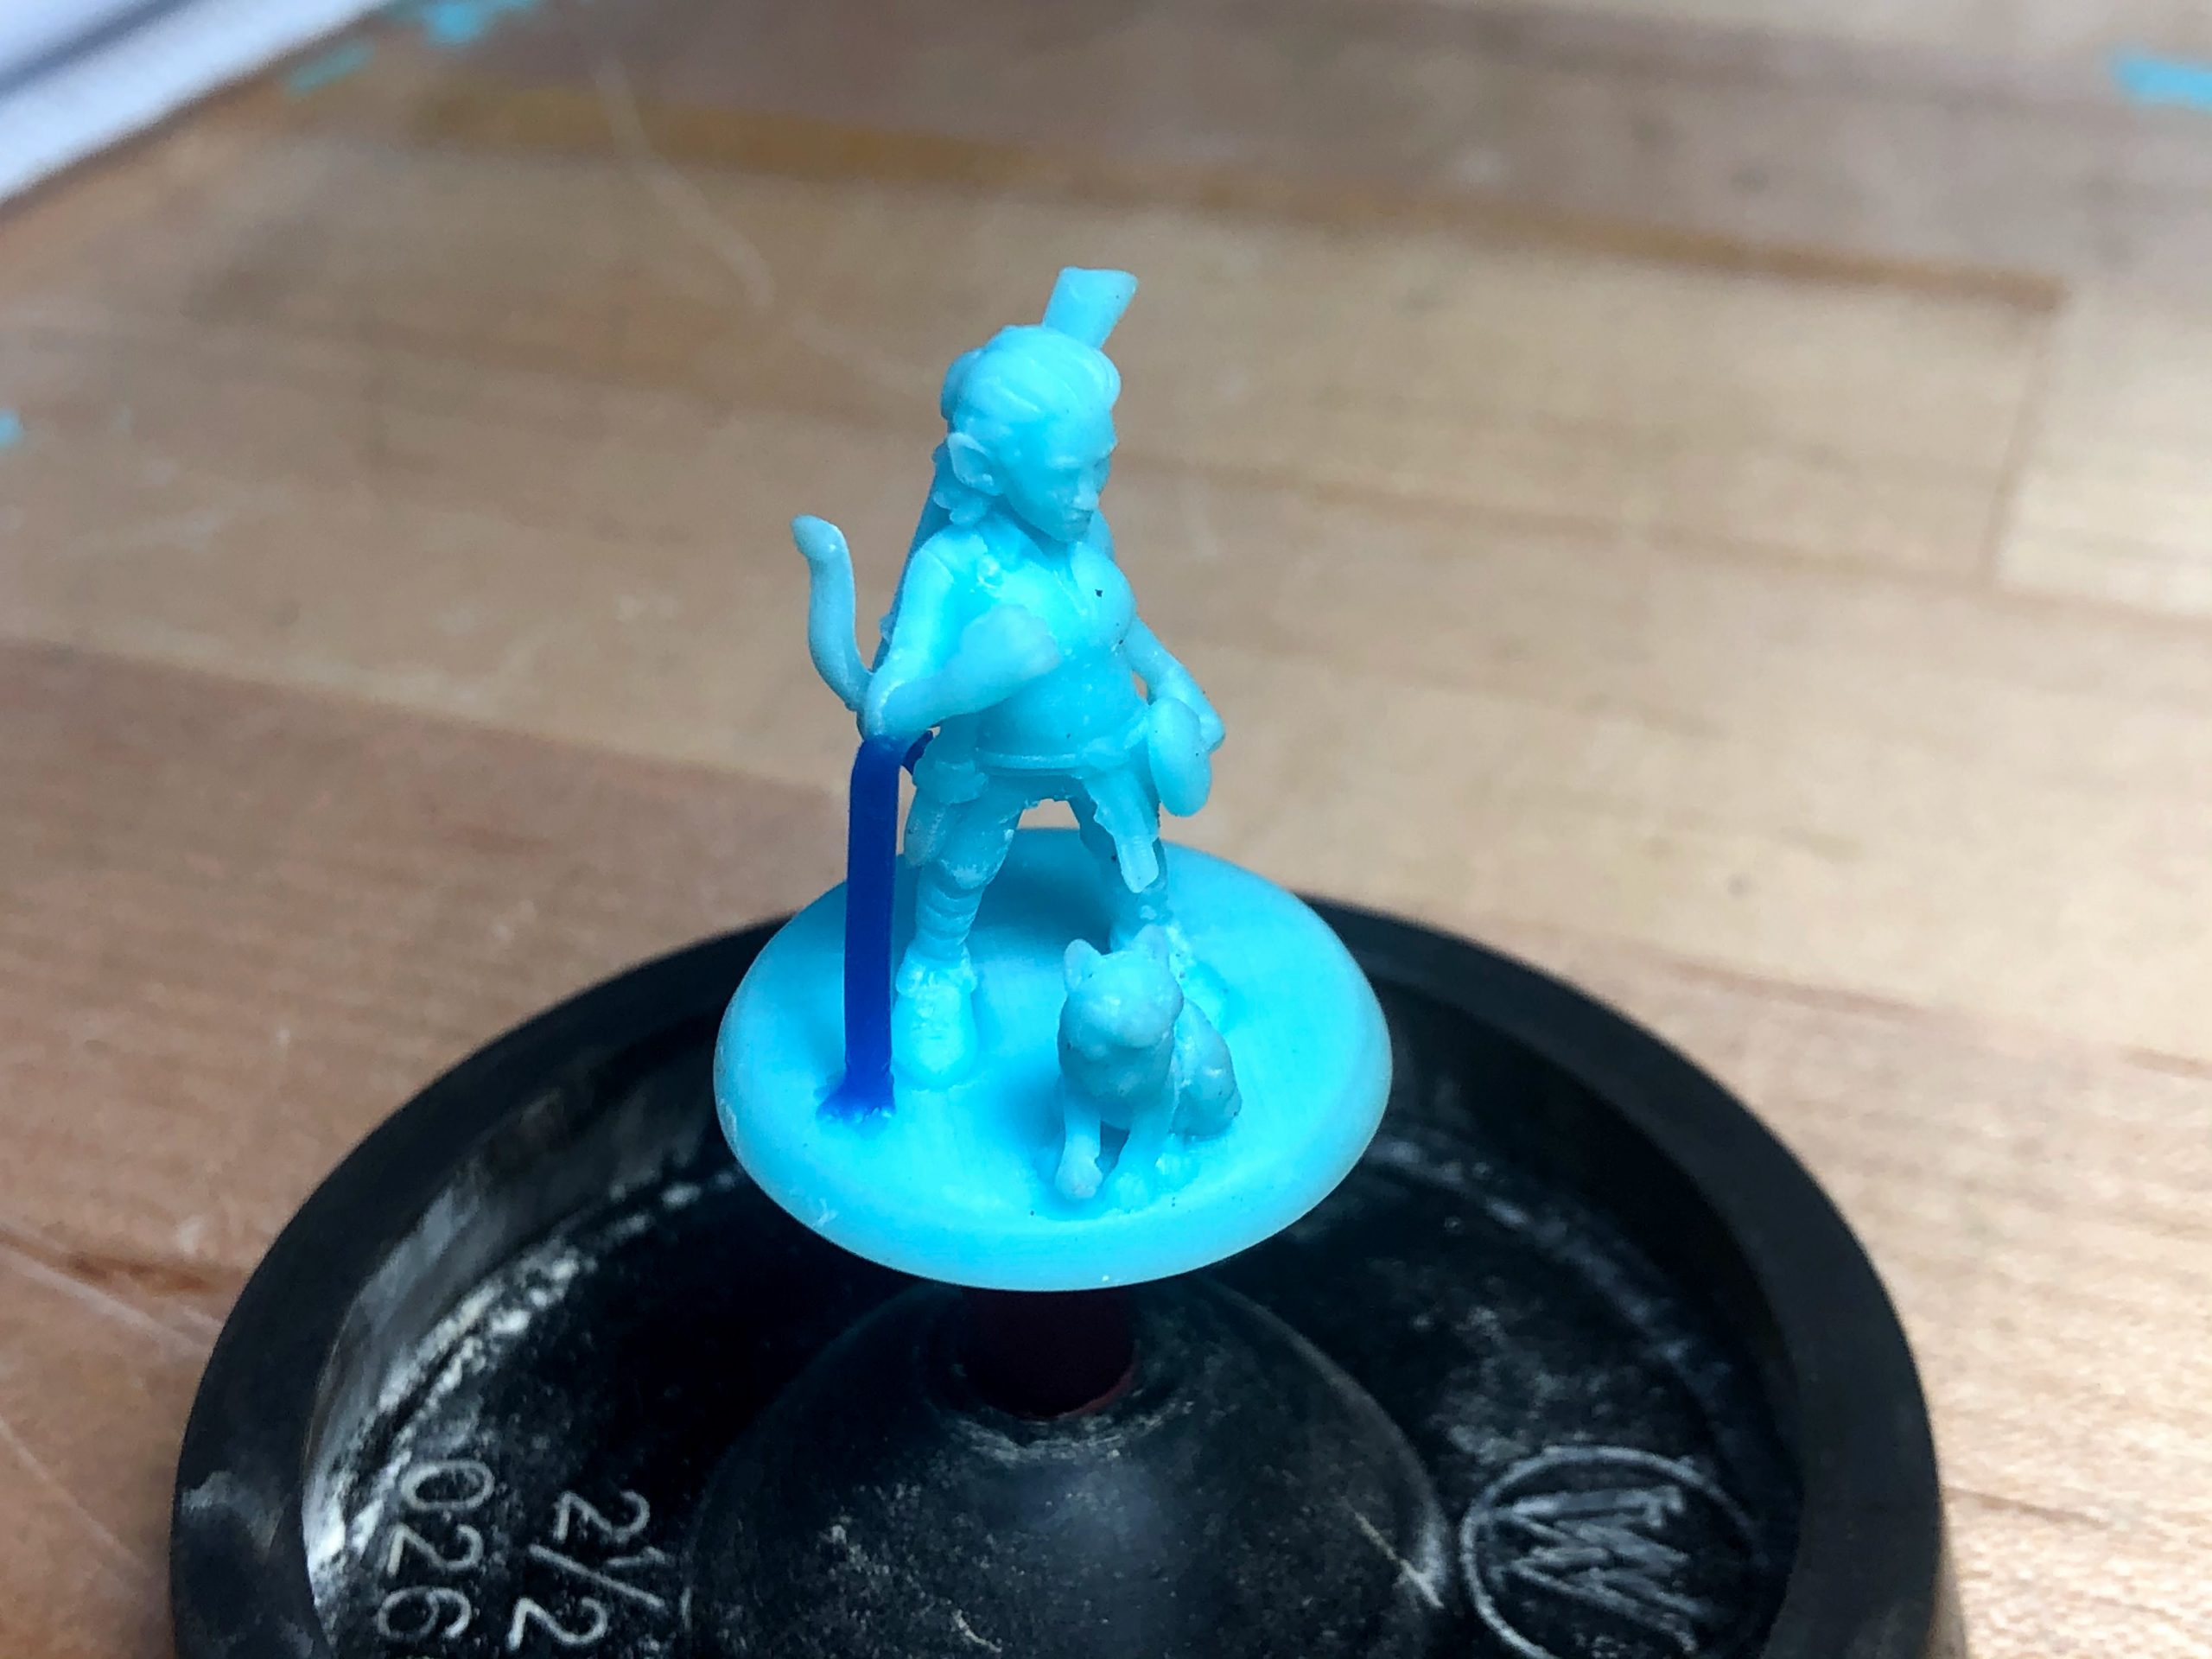
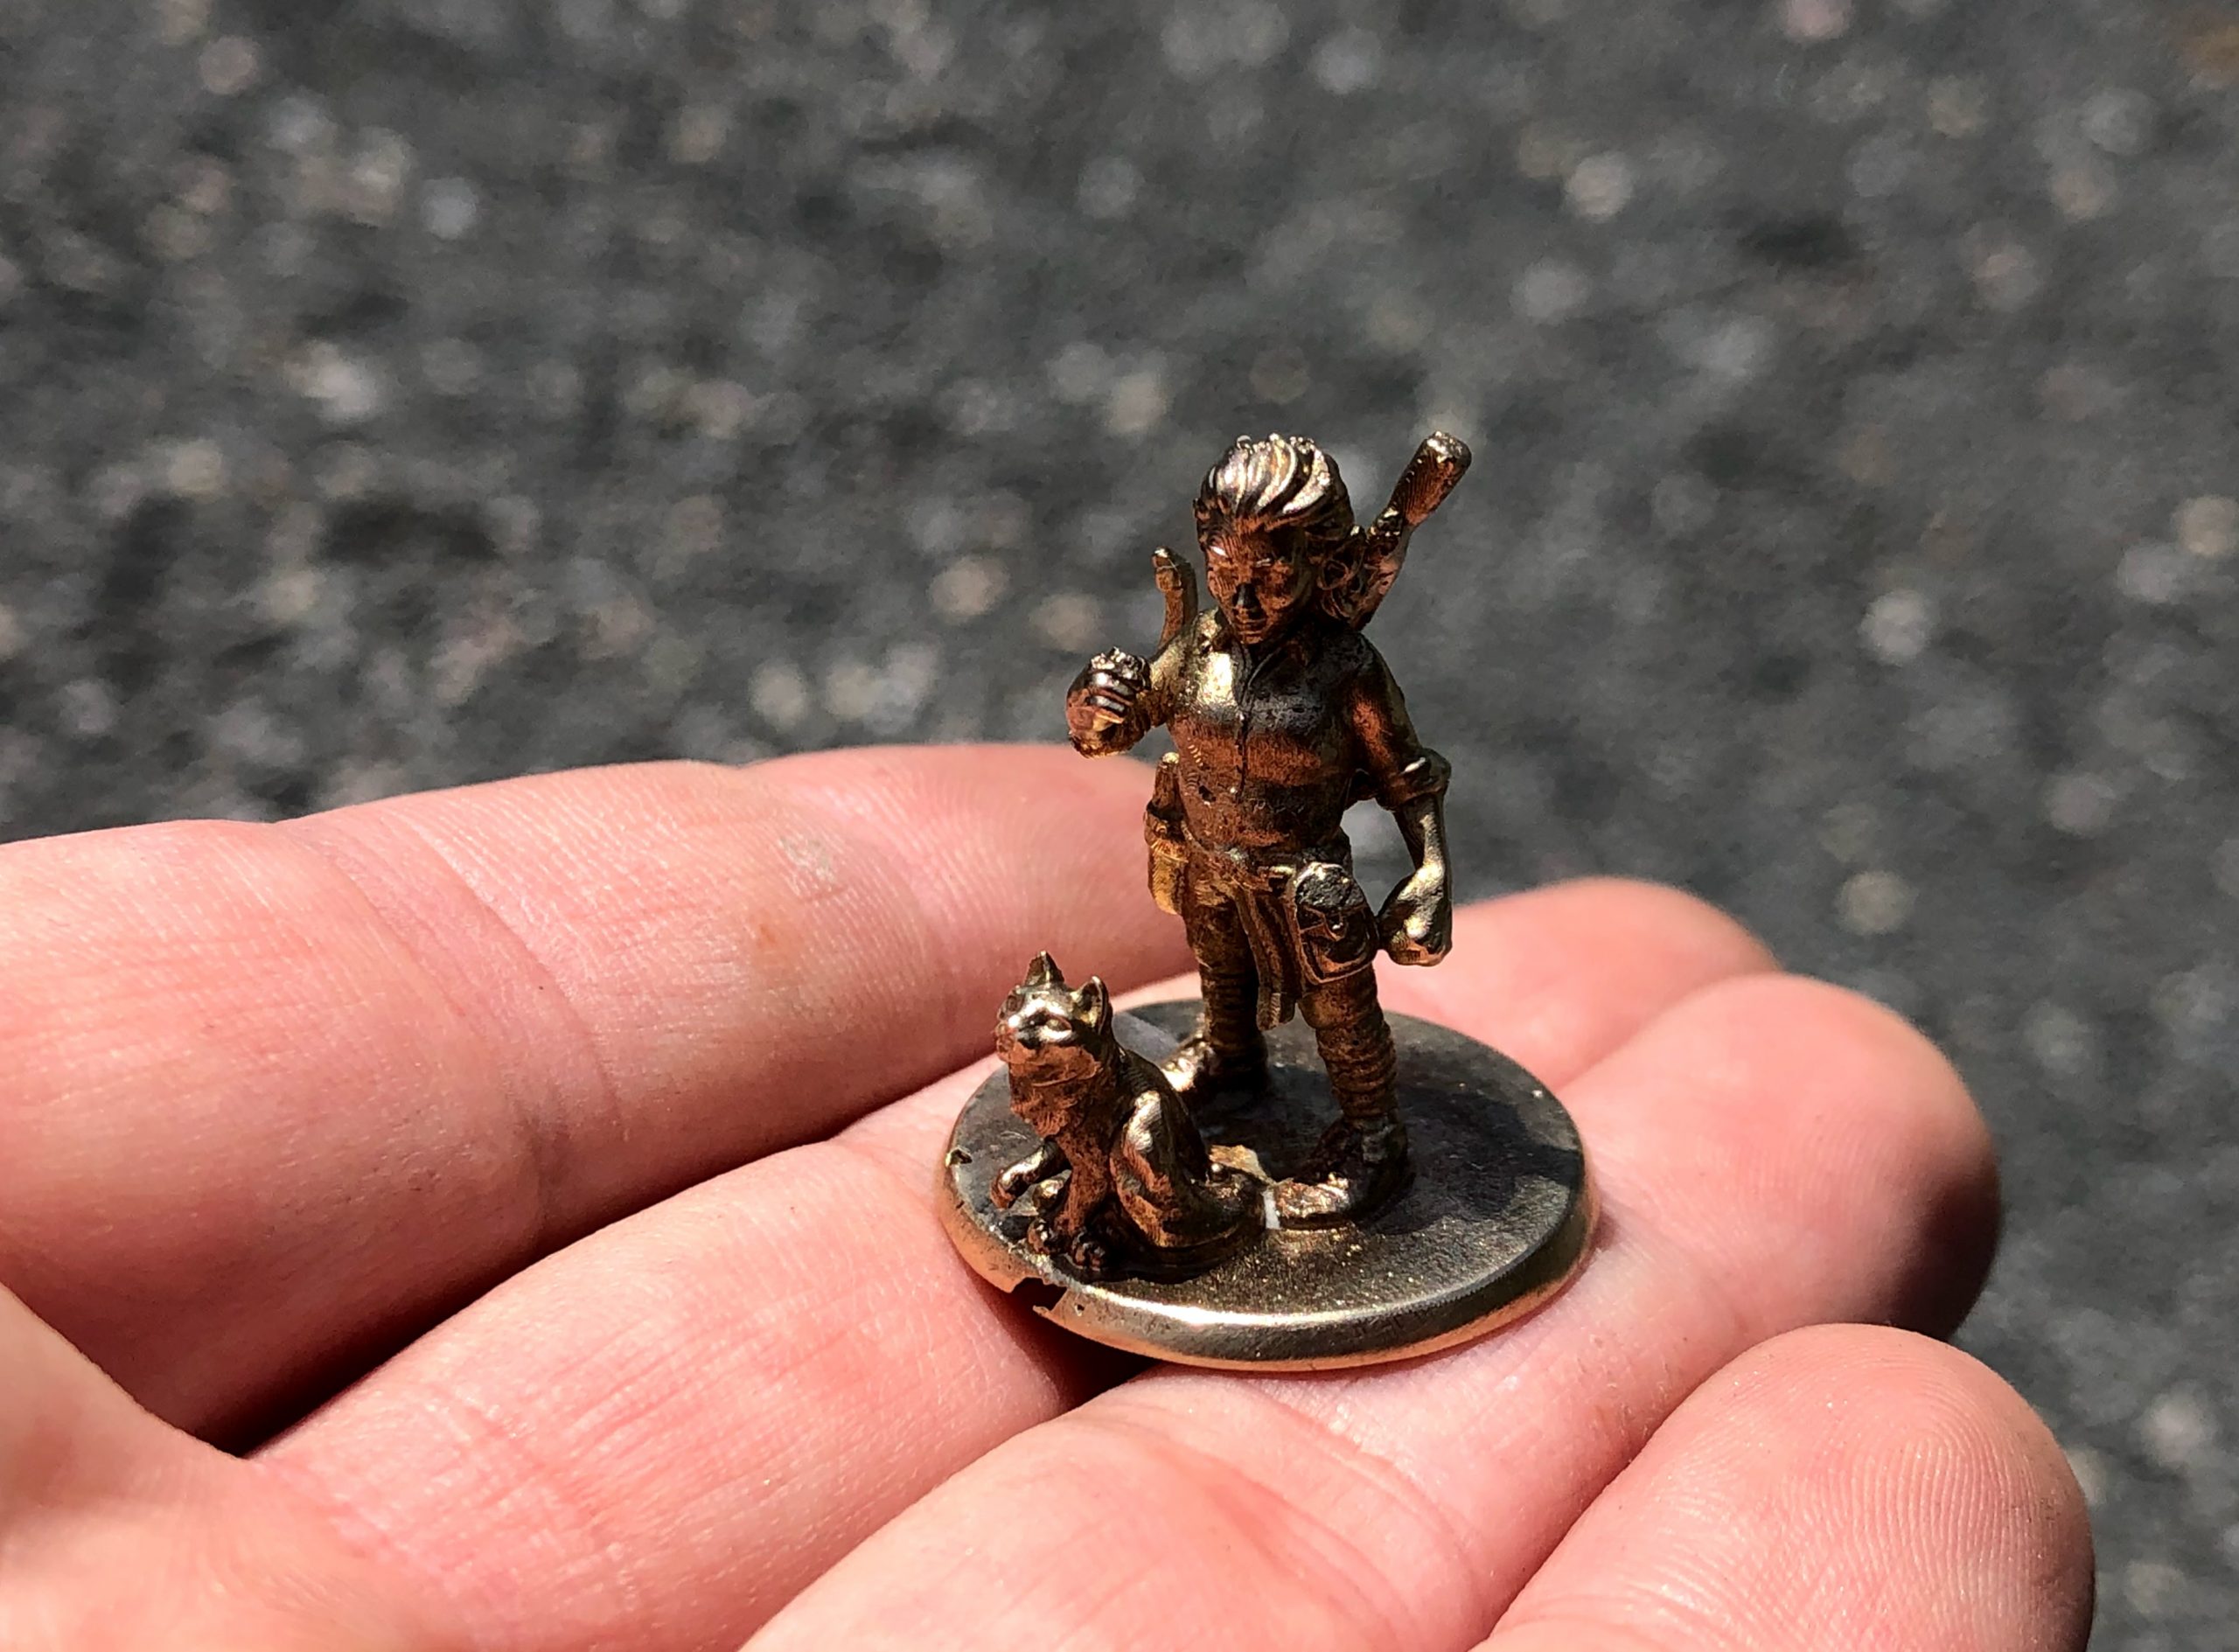
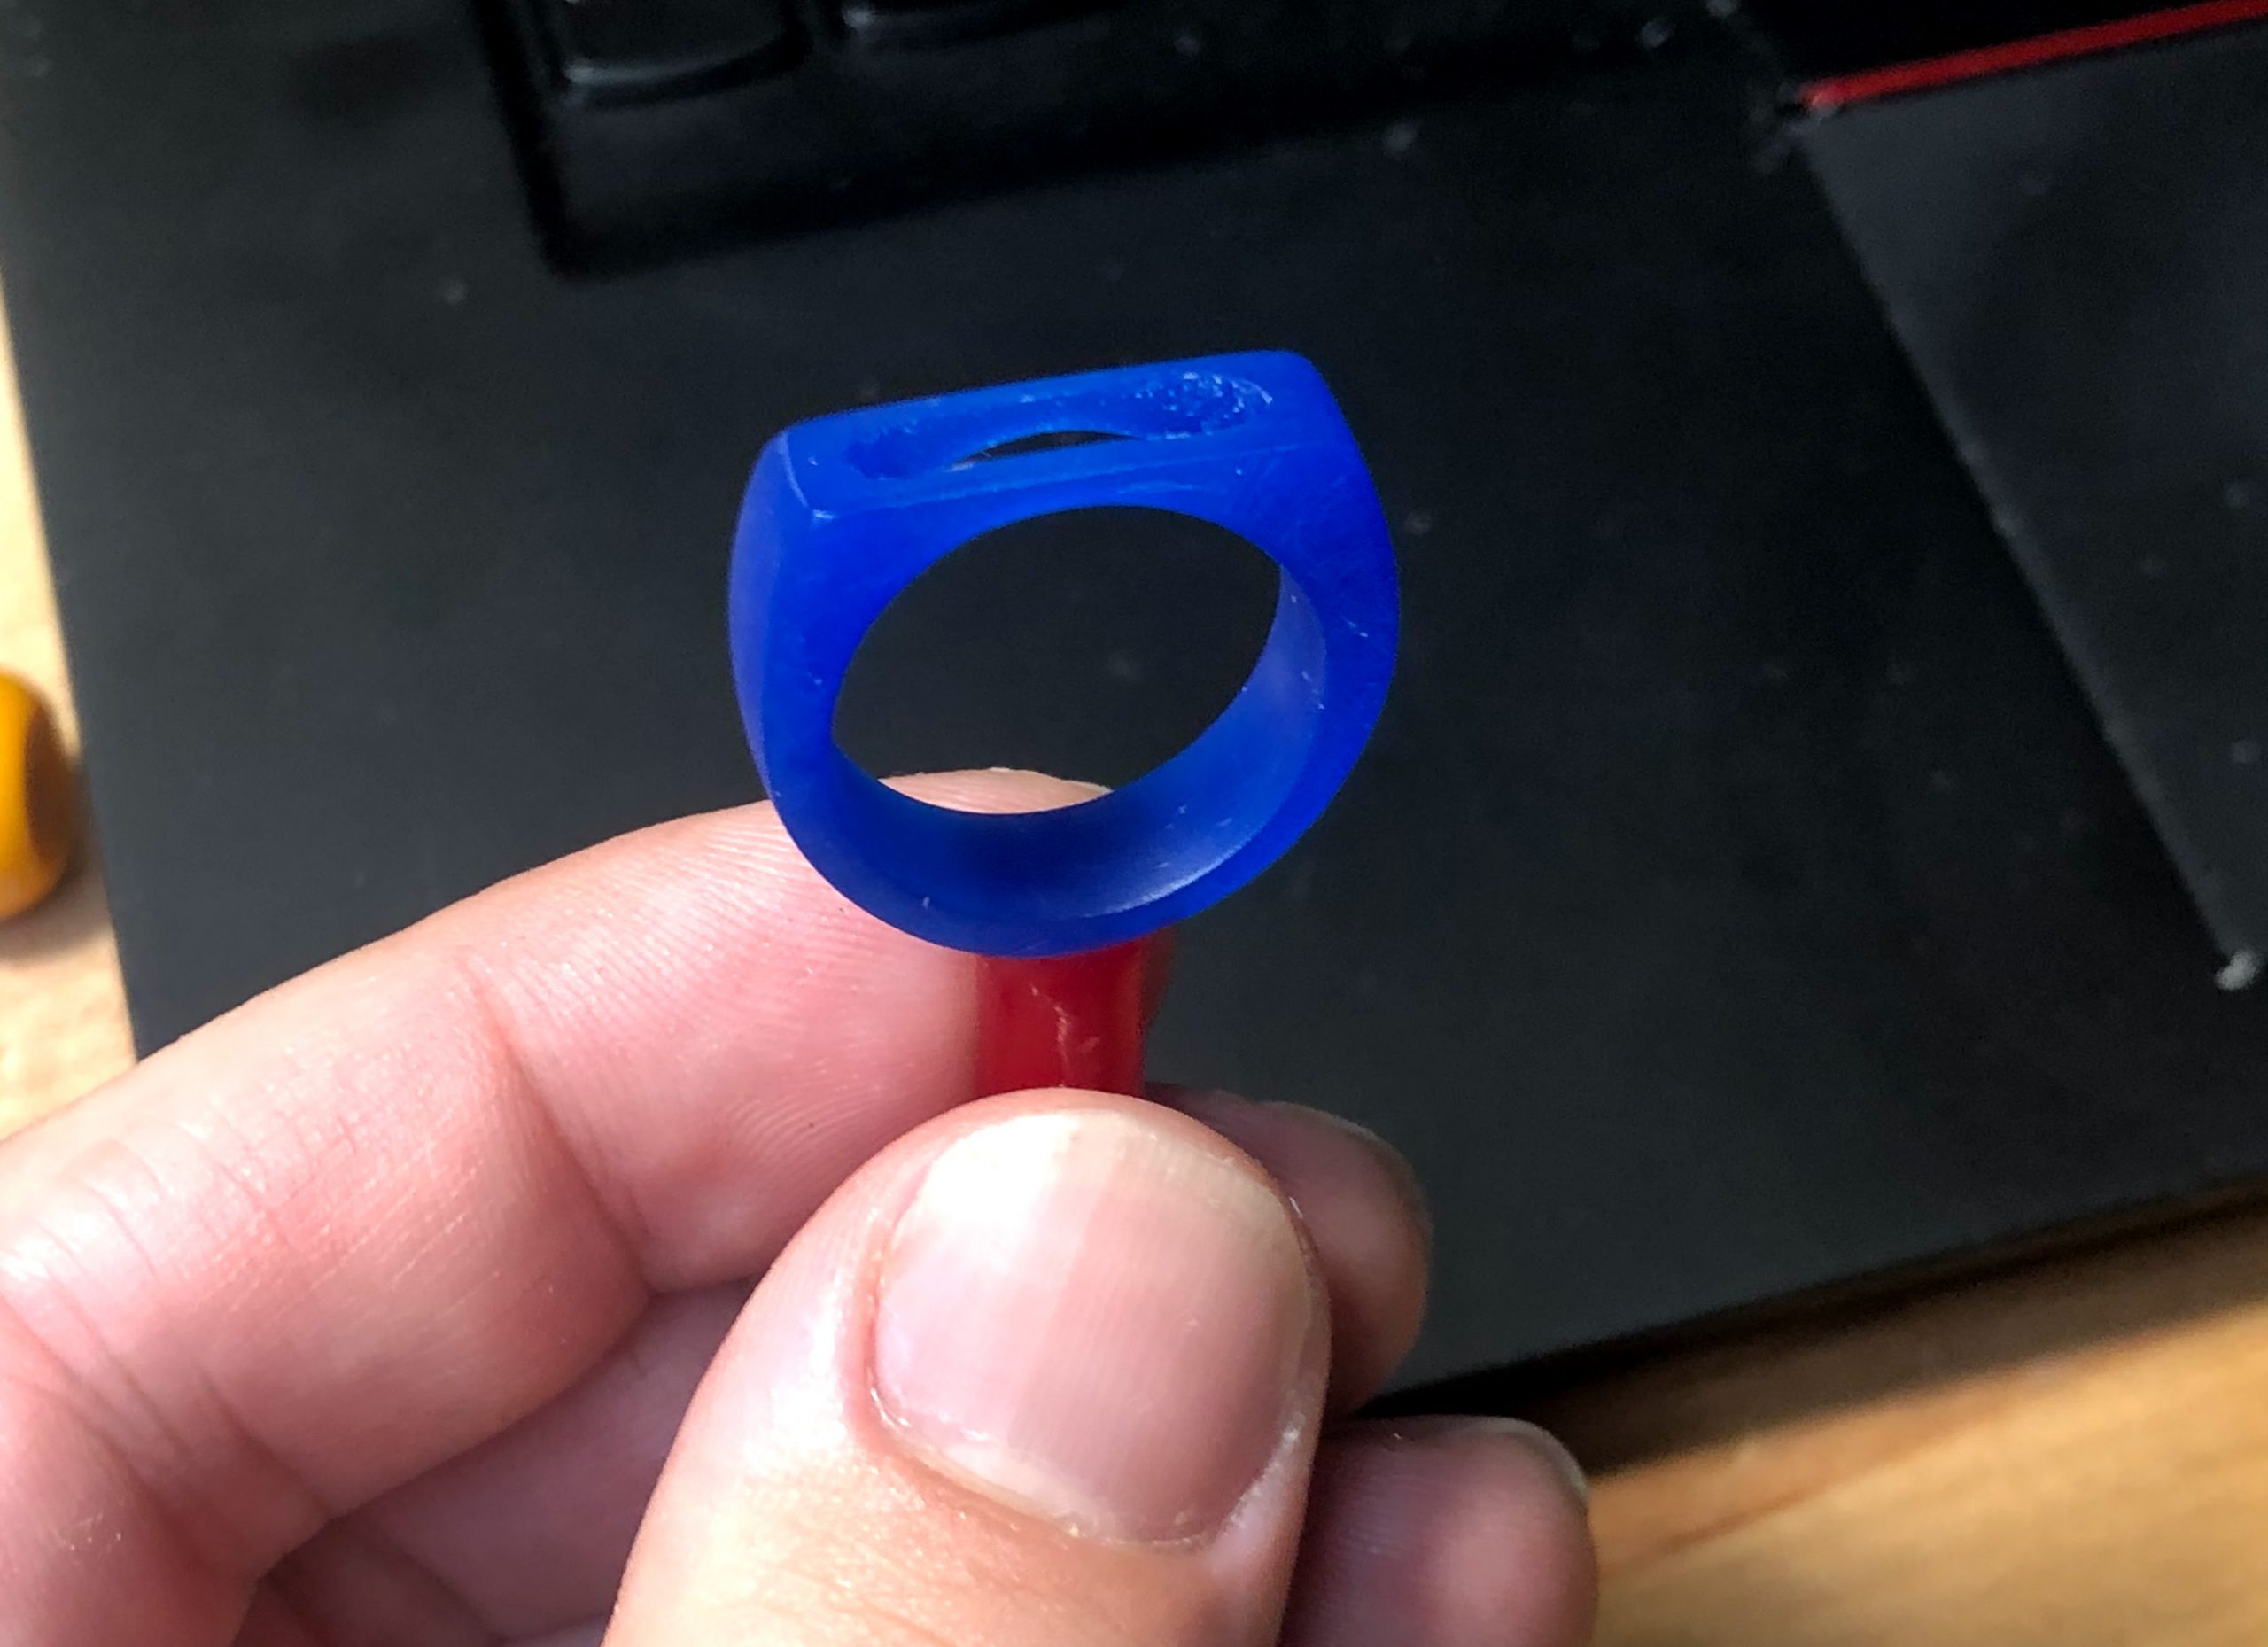
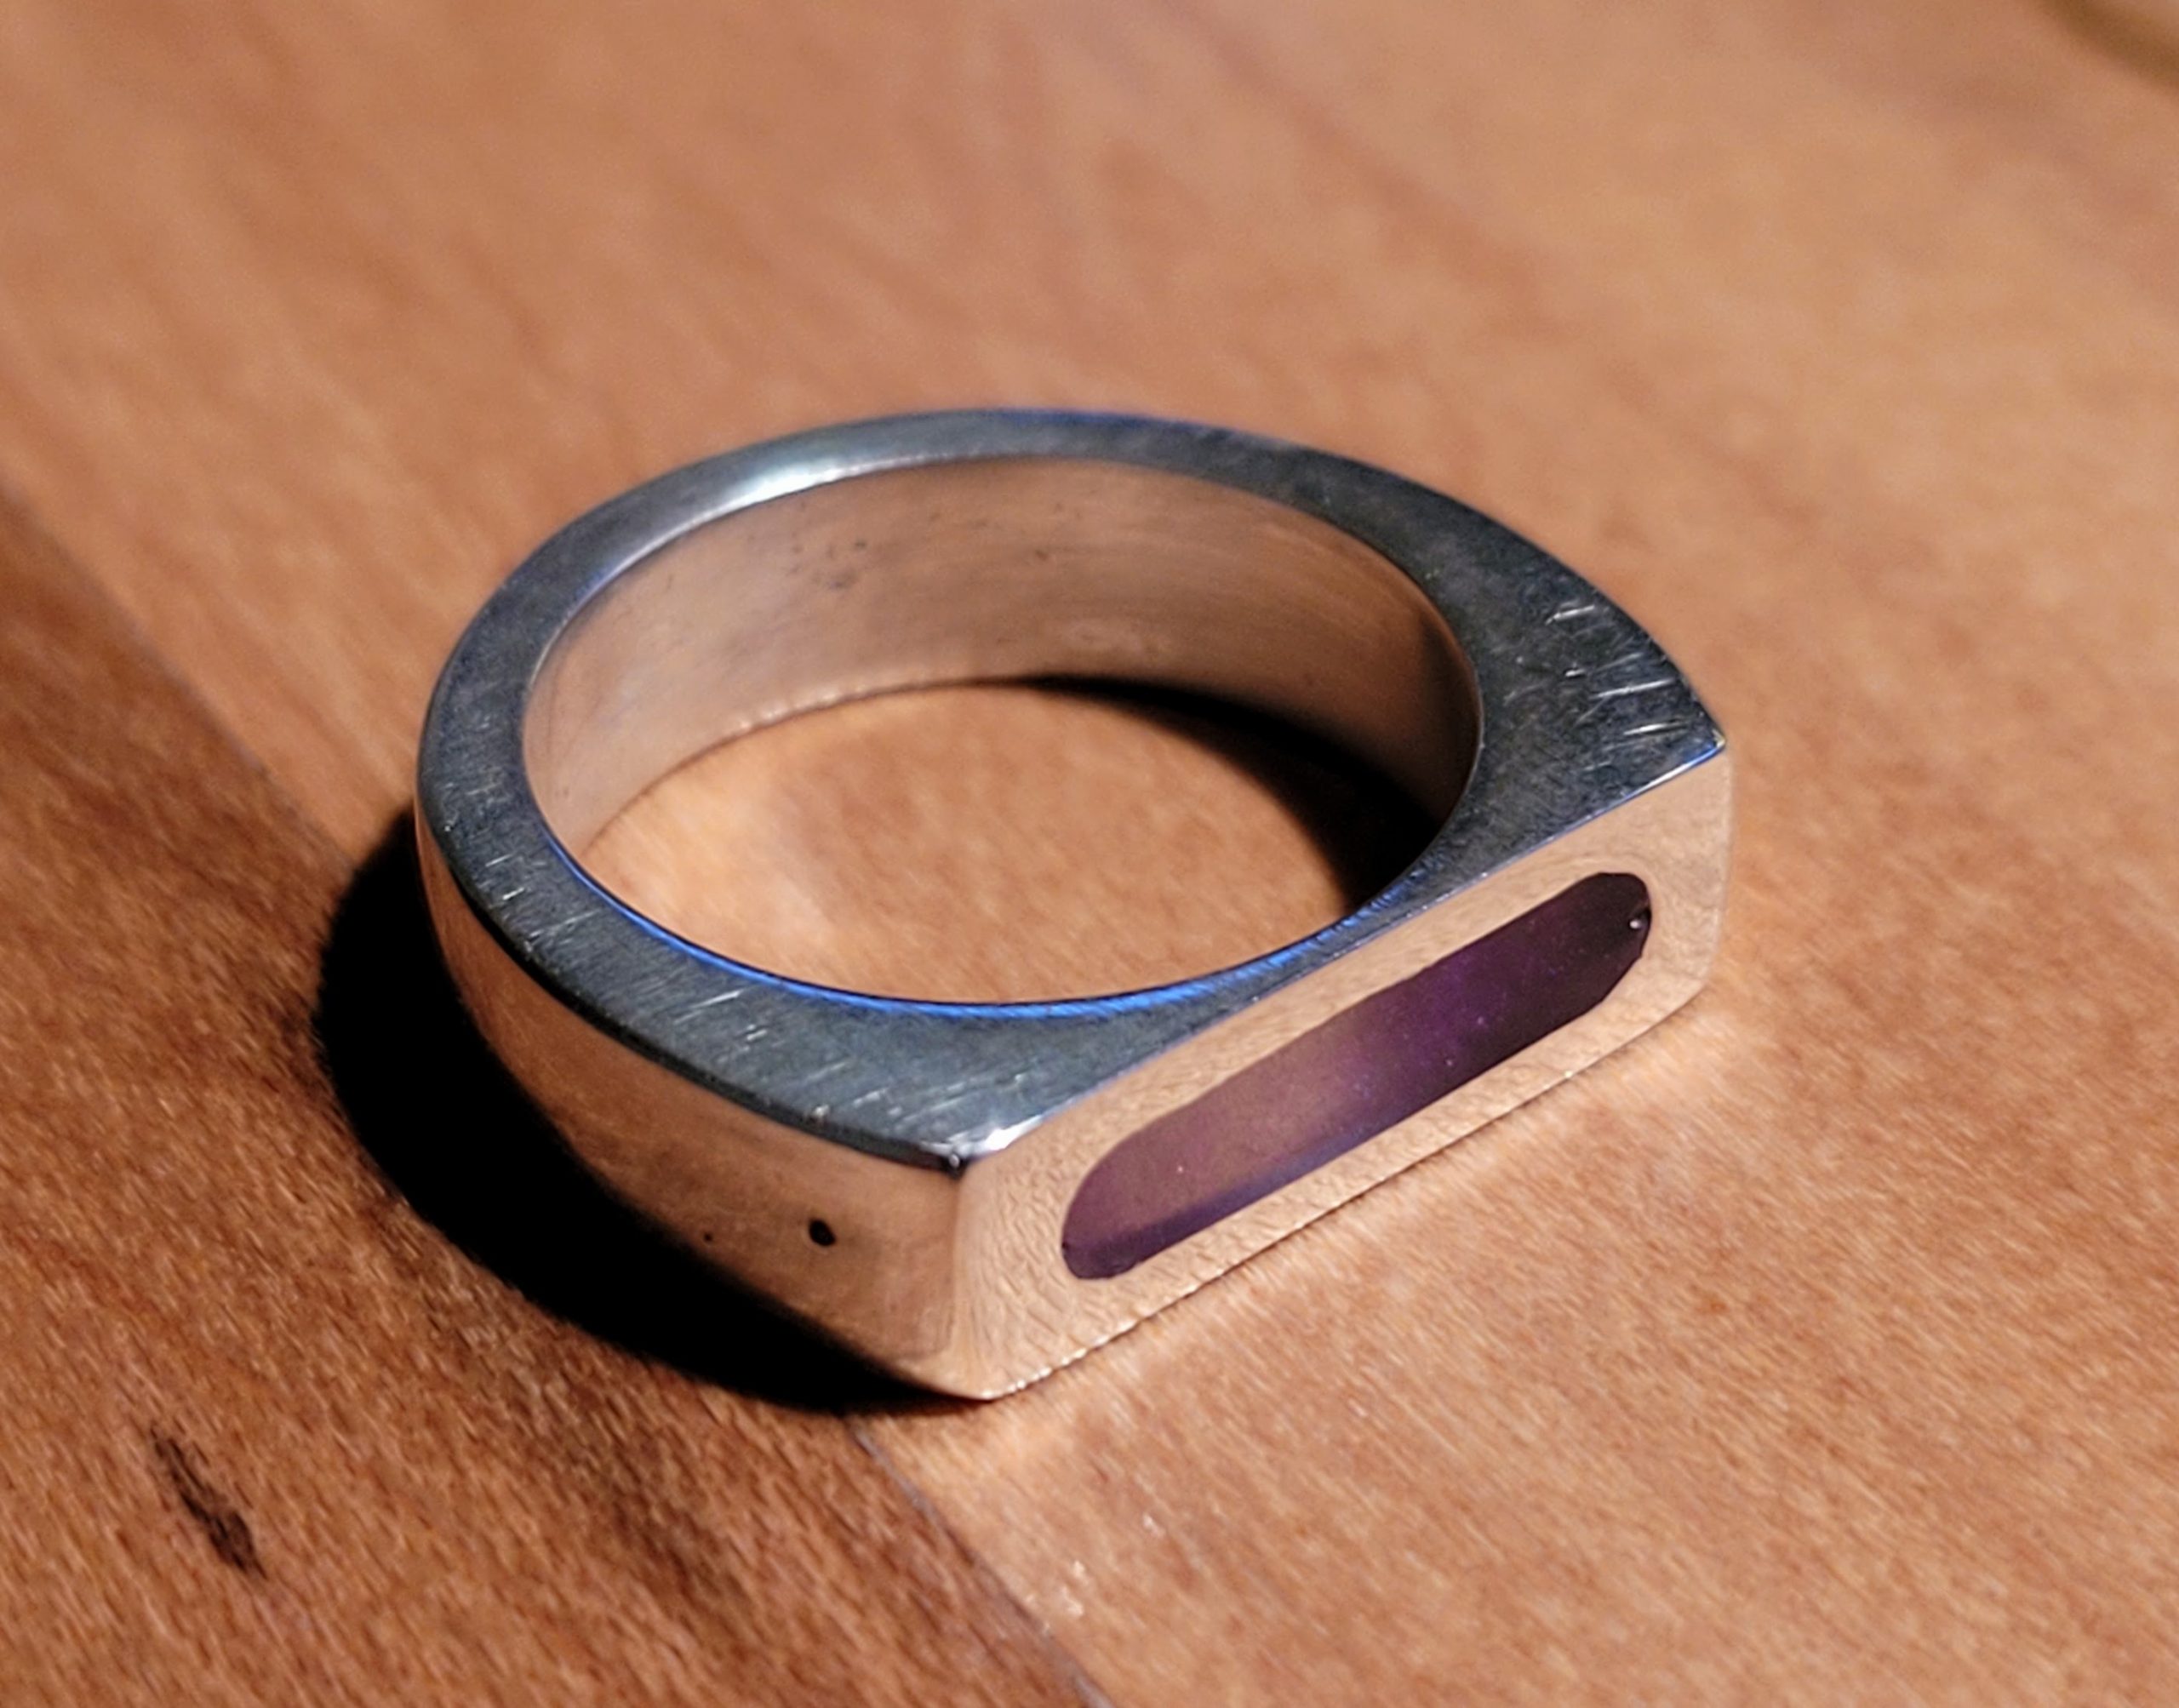
Since Experiment Zero, I’ve improved the process a lot. I picked up a QuickMelt electric furnace for melting metal and RapidFire electric kiln for burnout (it’s programmable!). I’ve also gotten better at building sprue trees, and pouring investment without creating bubbles (which are a pain to remove from the final product). Hint- brush the pattern with rubbing alcohol, slowly pour the investment, and tap/vibrate it during/before degassing in a vacuum chamber. I made a few more Pikachus, and some chess pieces. I also managed to get smoother surface finishes on my parts when I switched from using the burnout schedule recommended by the investment manufacturer to a schedule recommended by Practical Casting (which a friend and incredible artist gave me- I immediatley wished I had read it before starting out. It’s a great guide). Sara designed a custom D&D mini and I cast it in bronze. I also tried my hand at some simple jewelry, with a sterling silver bass guitar necklace I made for my Mom, a Shibuichi (Japanese mixture of silver and copper) pendant I made for a friend, and a simple sterling silver and epoxy ring I made for myself. The ring was the only thing so far that I actually hand-carved from wax rather than 3D printing. Those photos and more in the gallery below.
If you want to try any of this for yourself (please be careful, and it’s not my responsibility if something goes wrong!) then please reach out and show me what you’ve made. It’s a ton of fun.
-
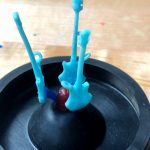
- Wax & plastic bass pendant pattern
-
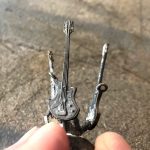
- First sterling silver casting-cleanup required
-
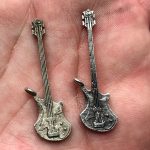
- Comparing finishes
-
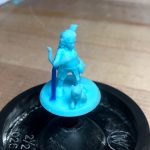
- Sara’s D&D mini
-
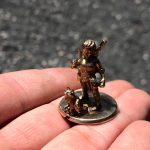
- Sara’s D&D mini in bronze
-
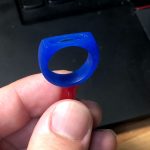
- Hand-carved wax ring
-
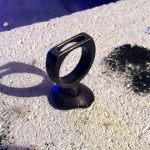
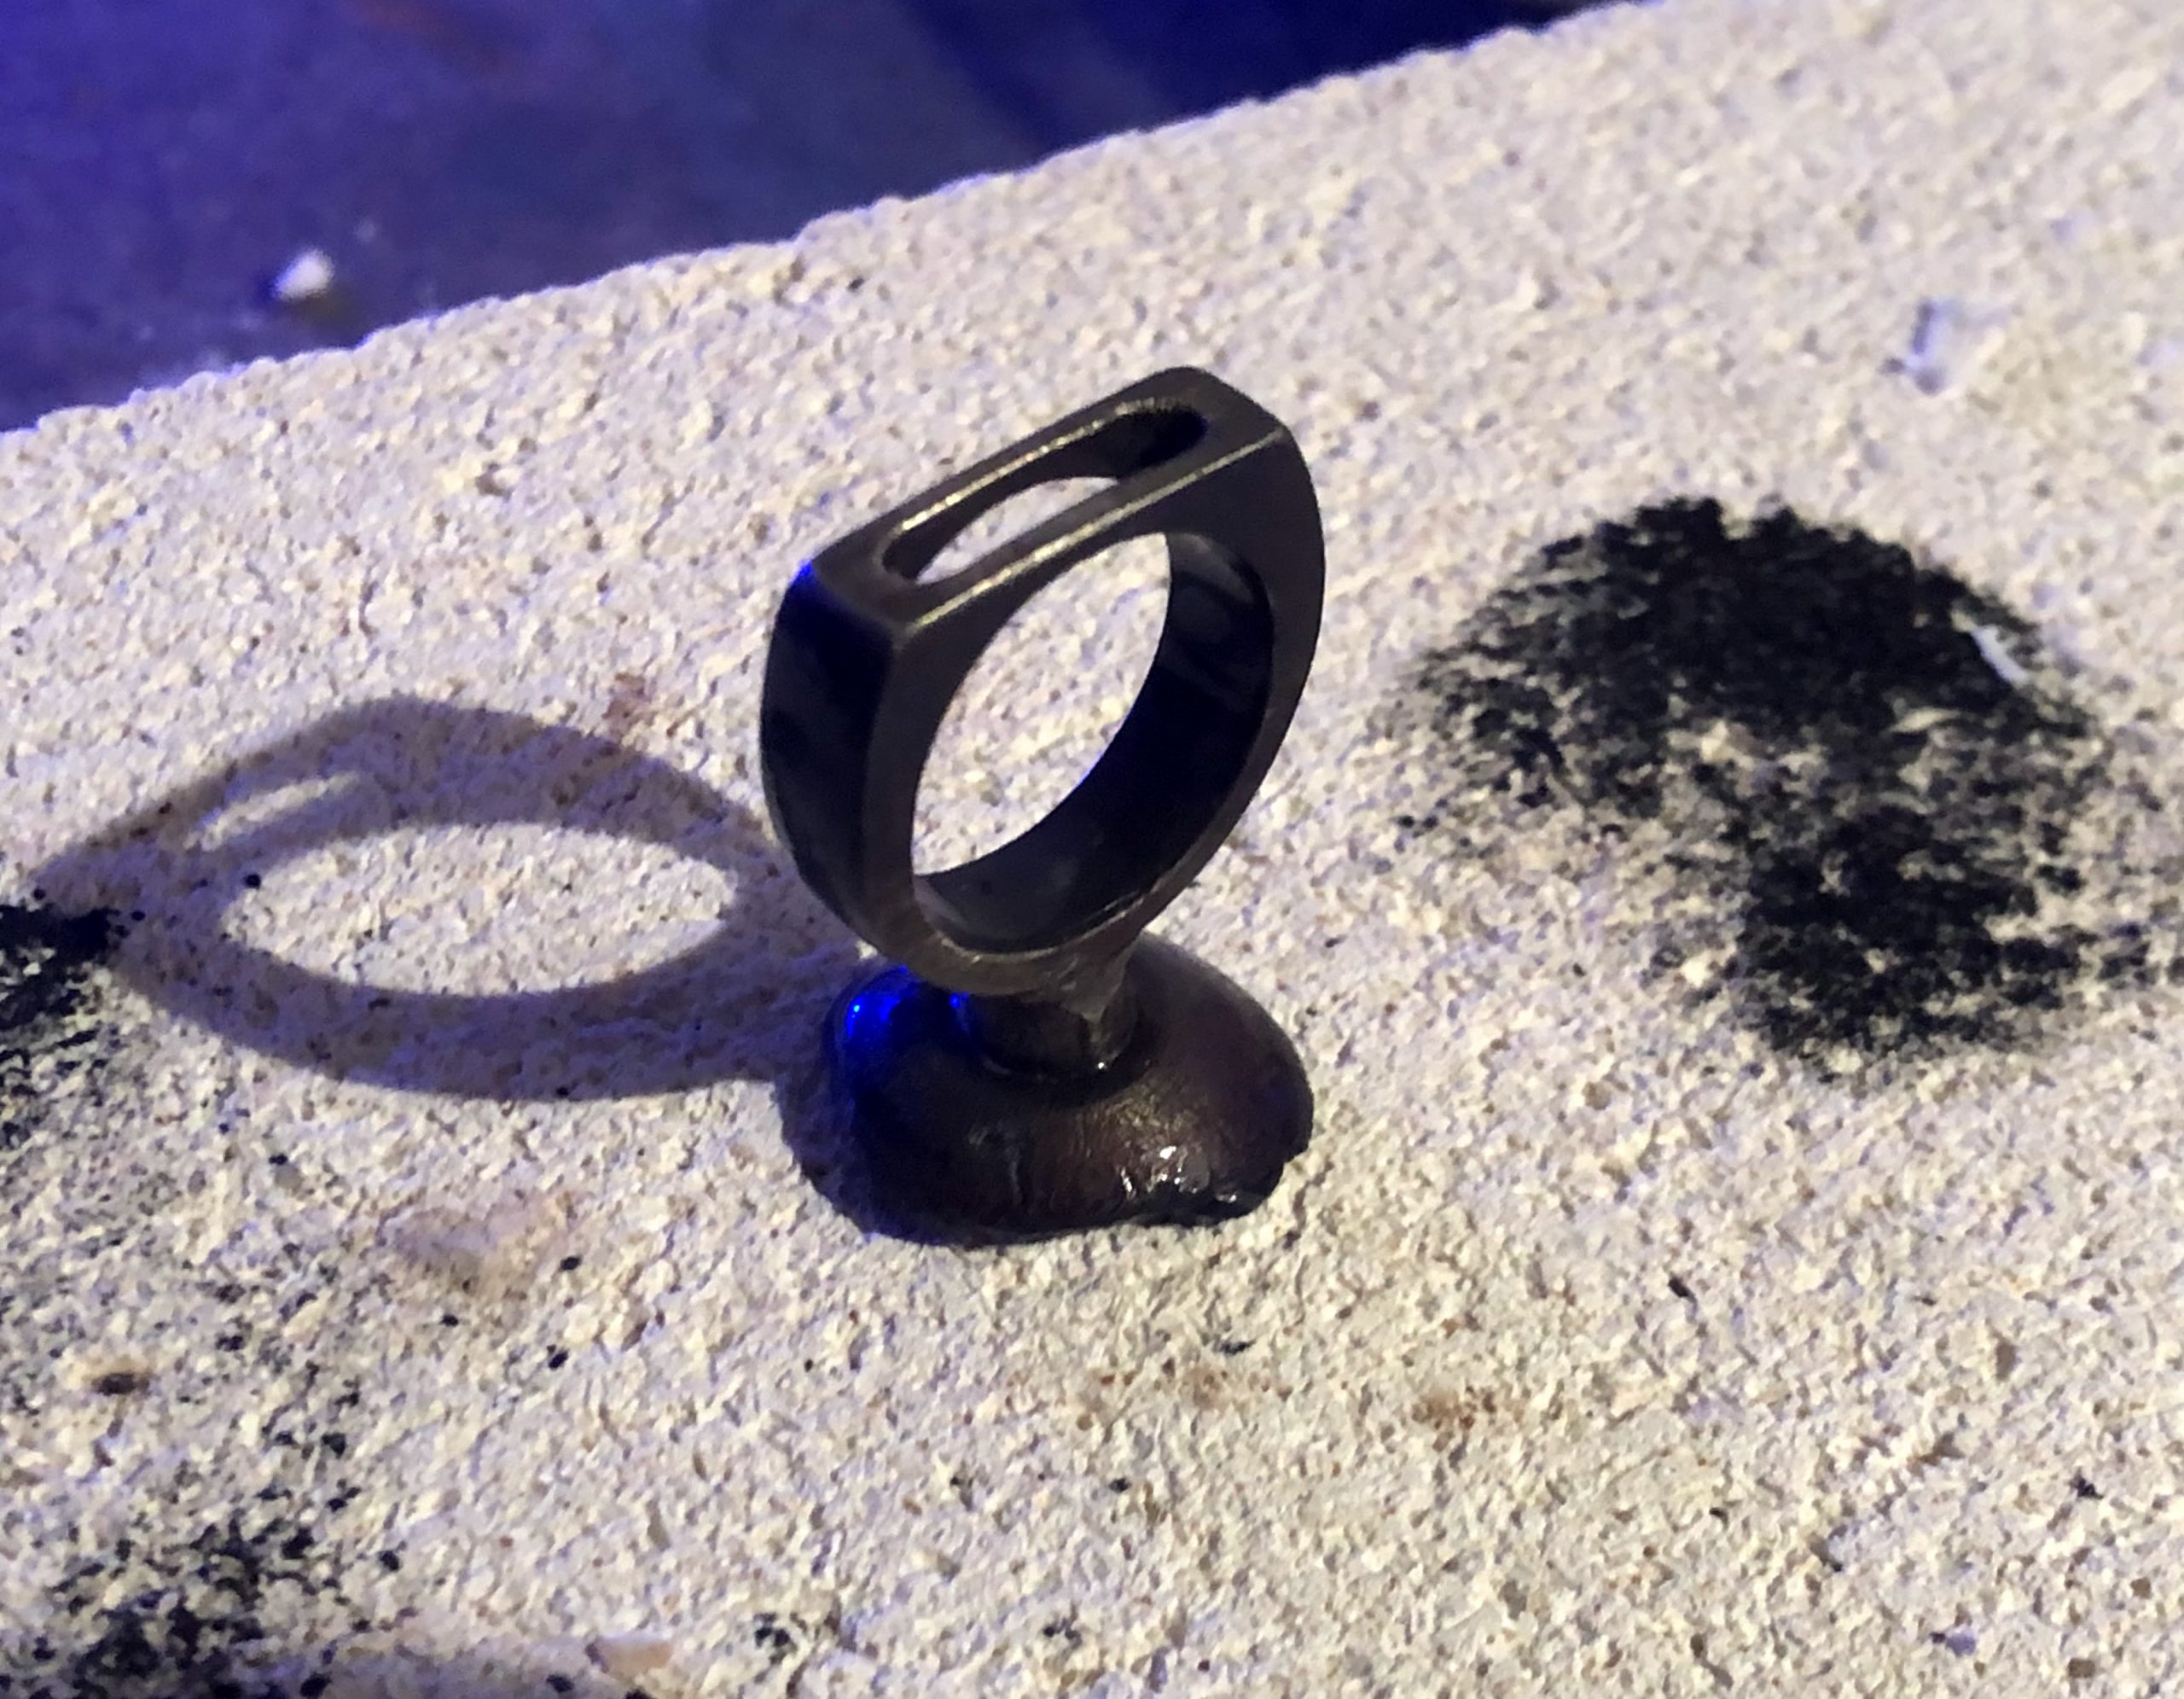
- as-cast silver is black!
-

- Final product with epoxy fill
-
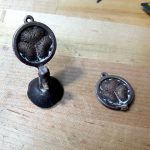
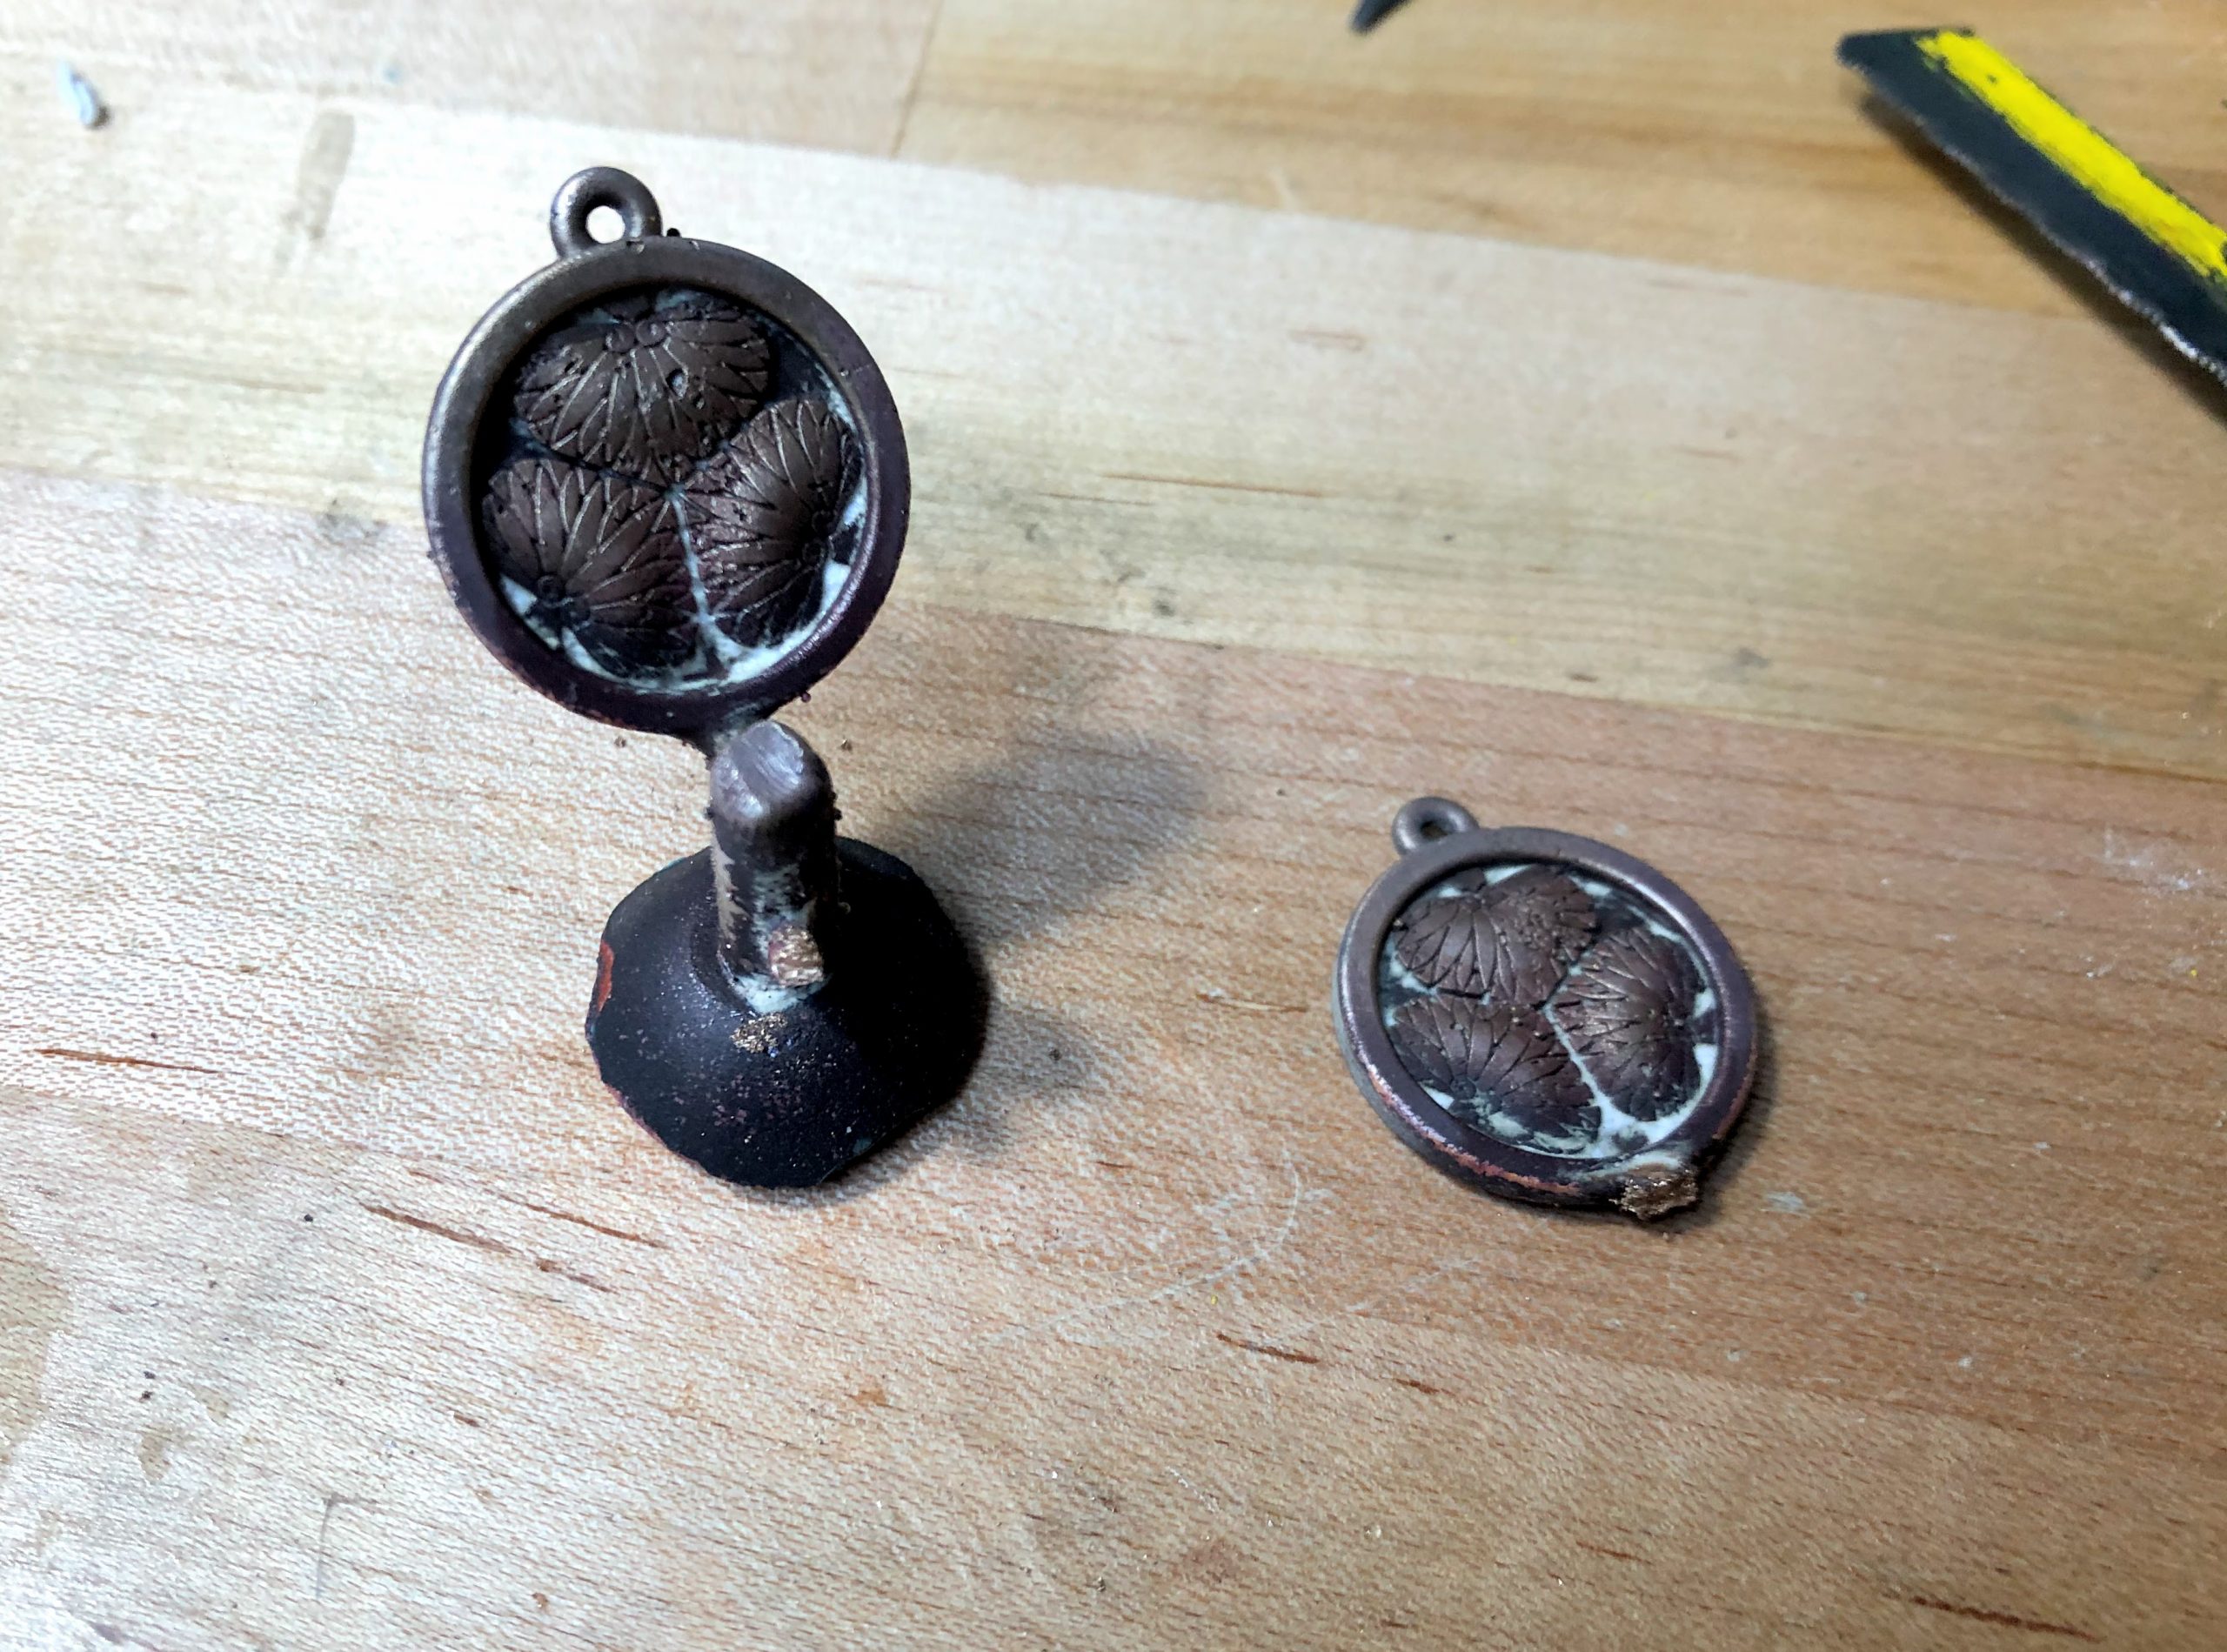
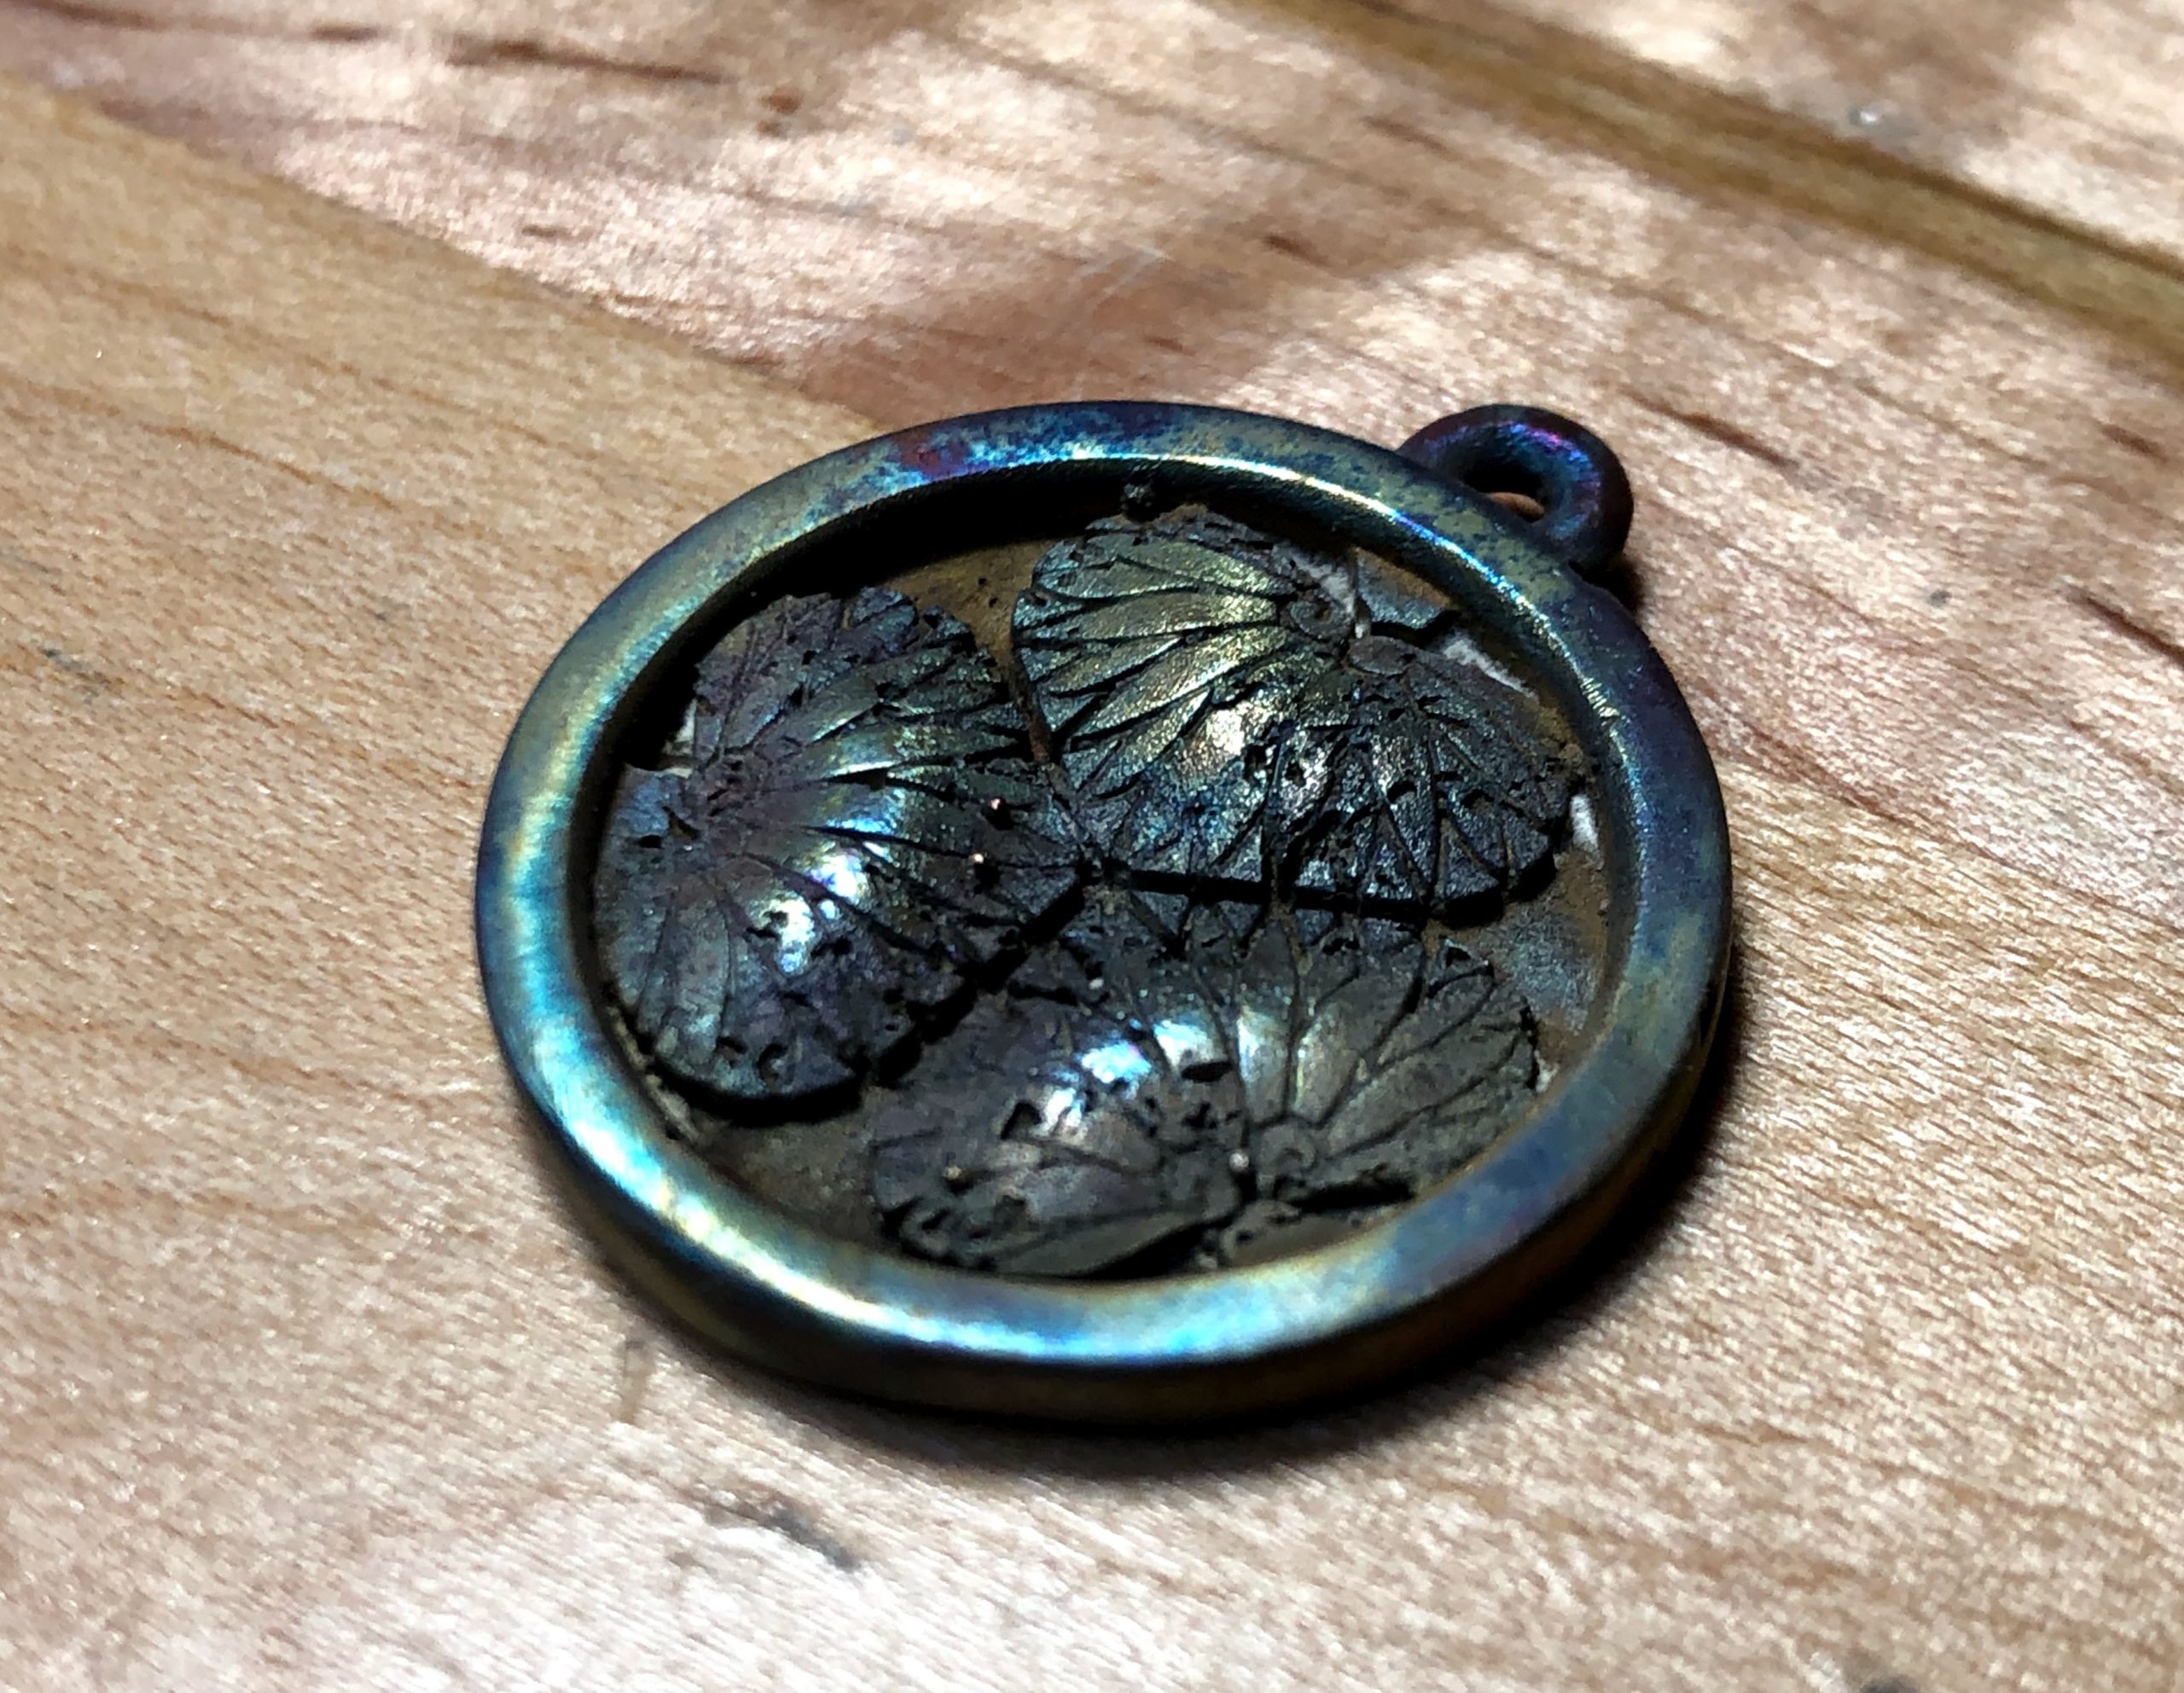
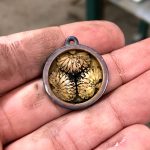
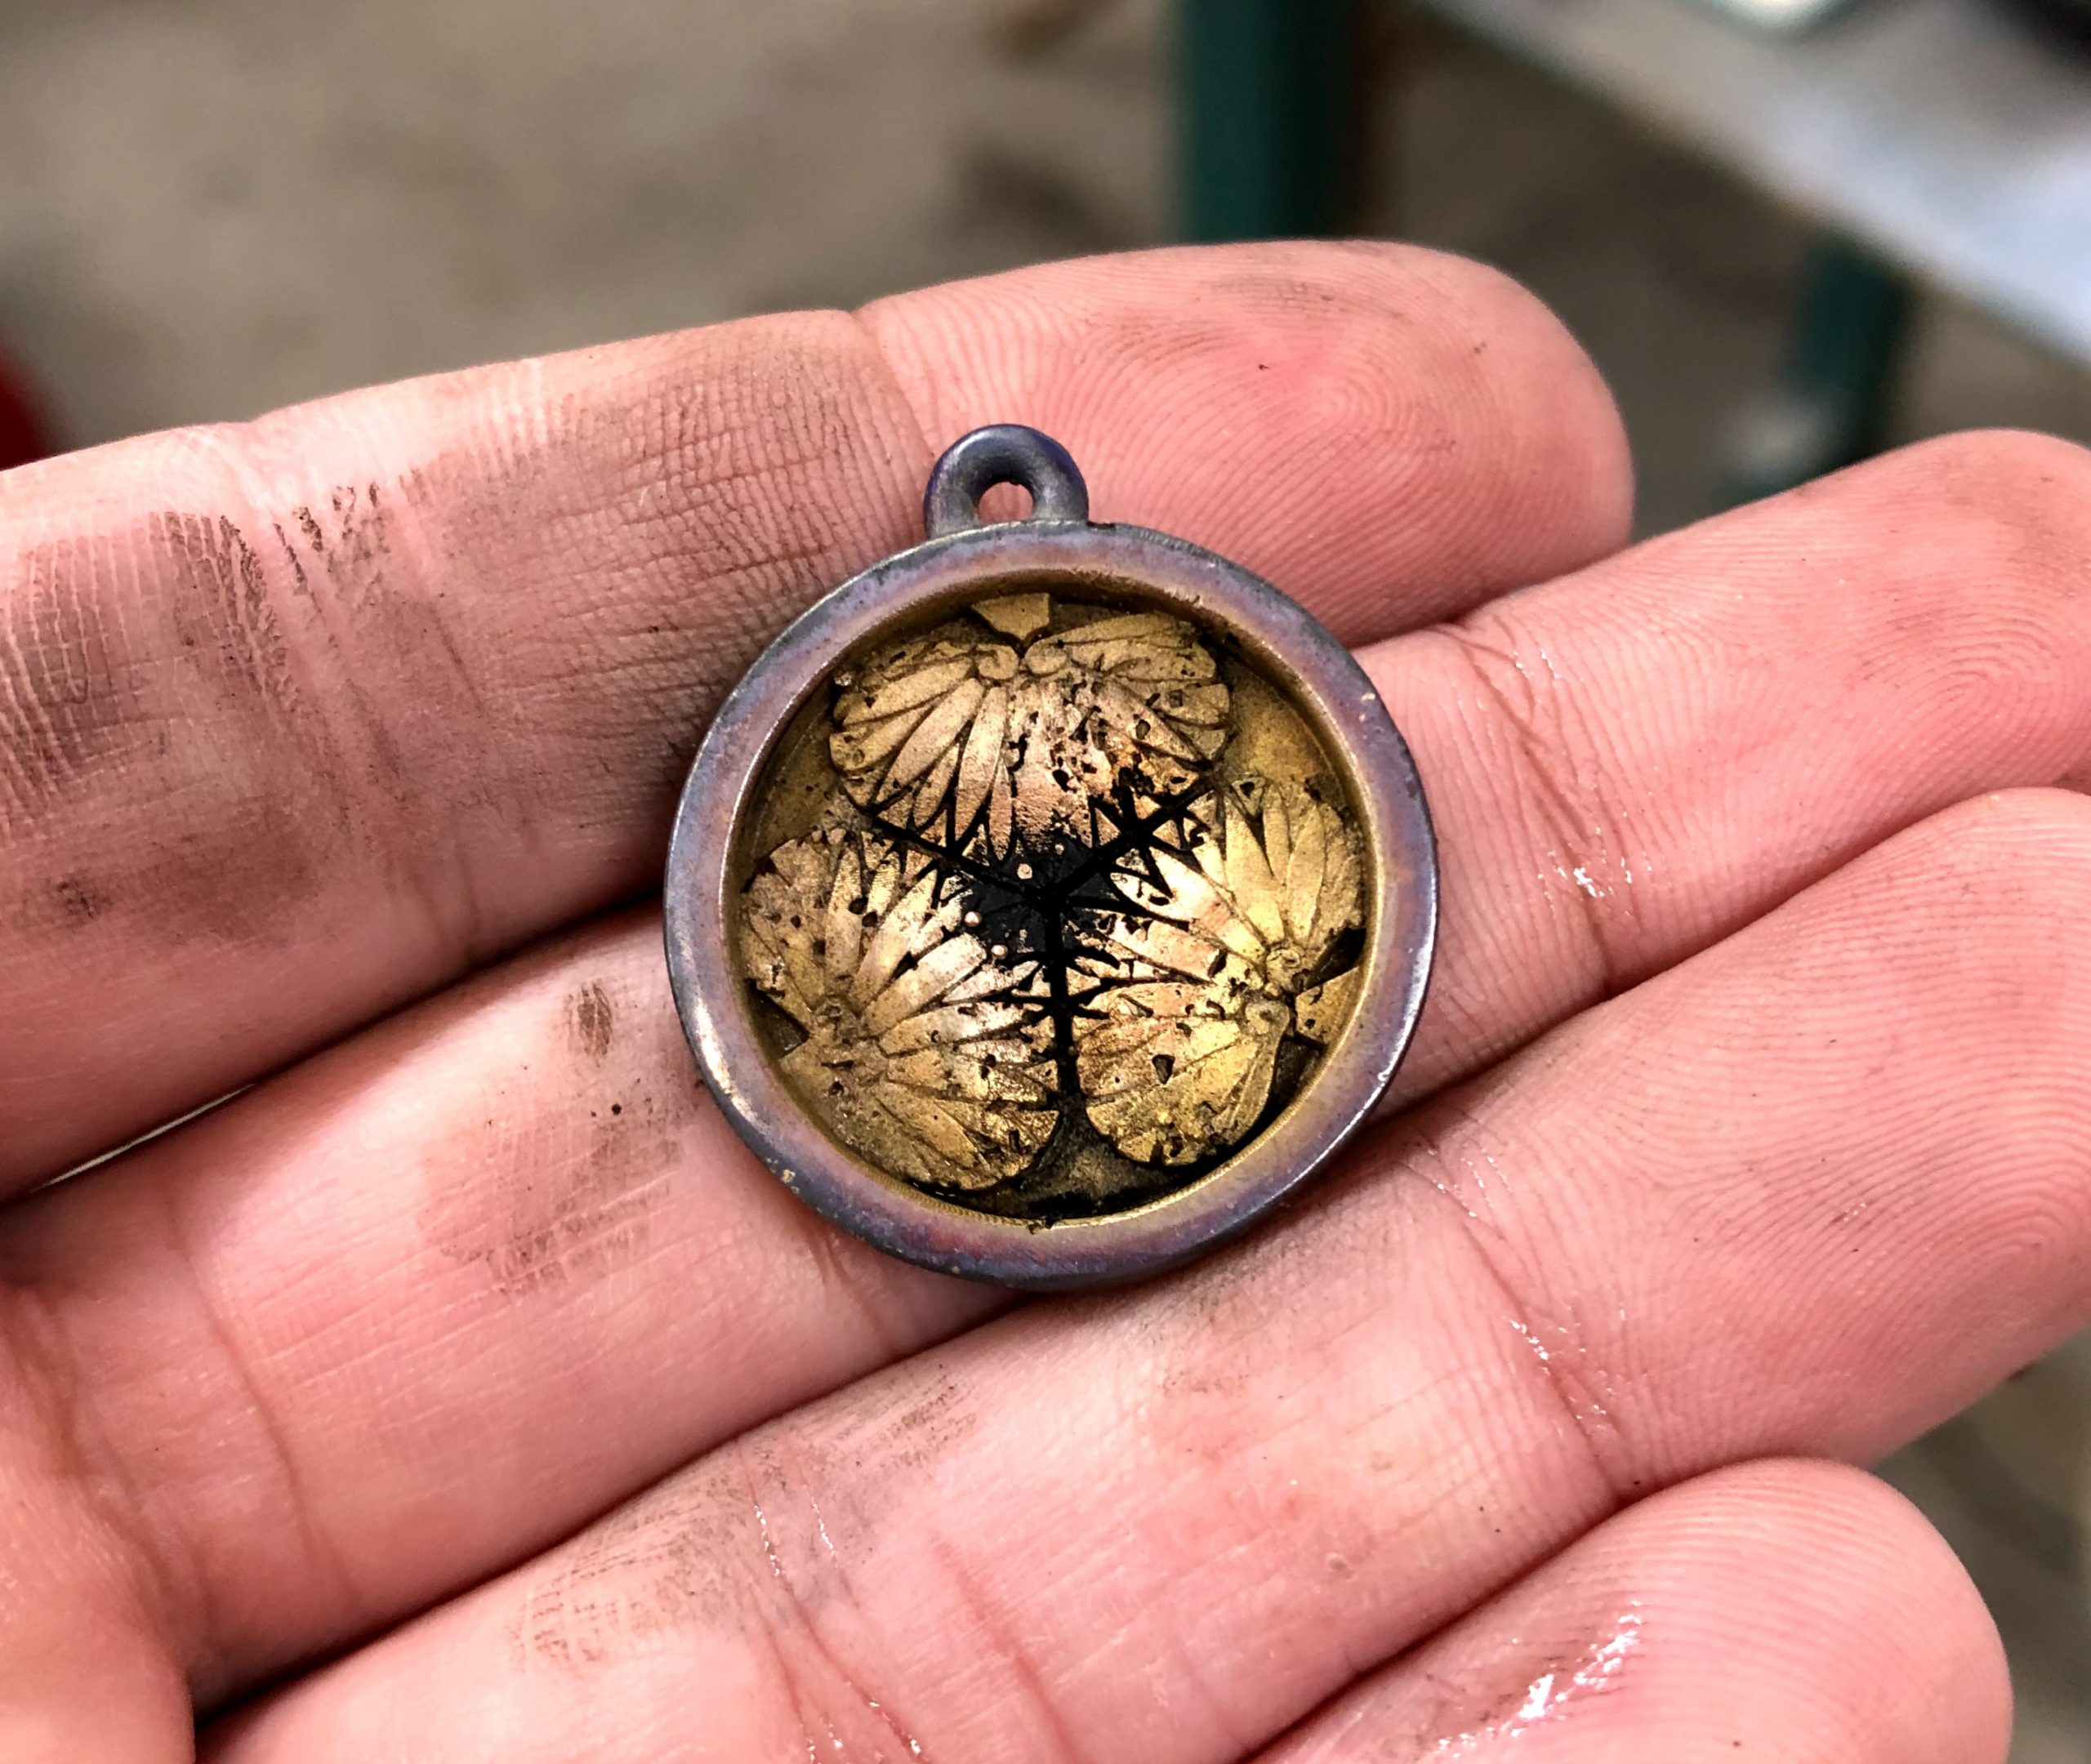
- Shibuichi (copper+silver) pendant
-
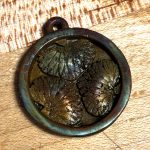
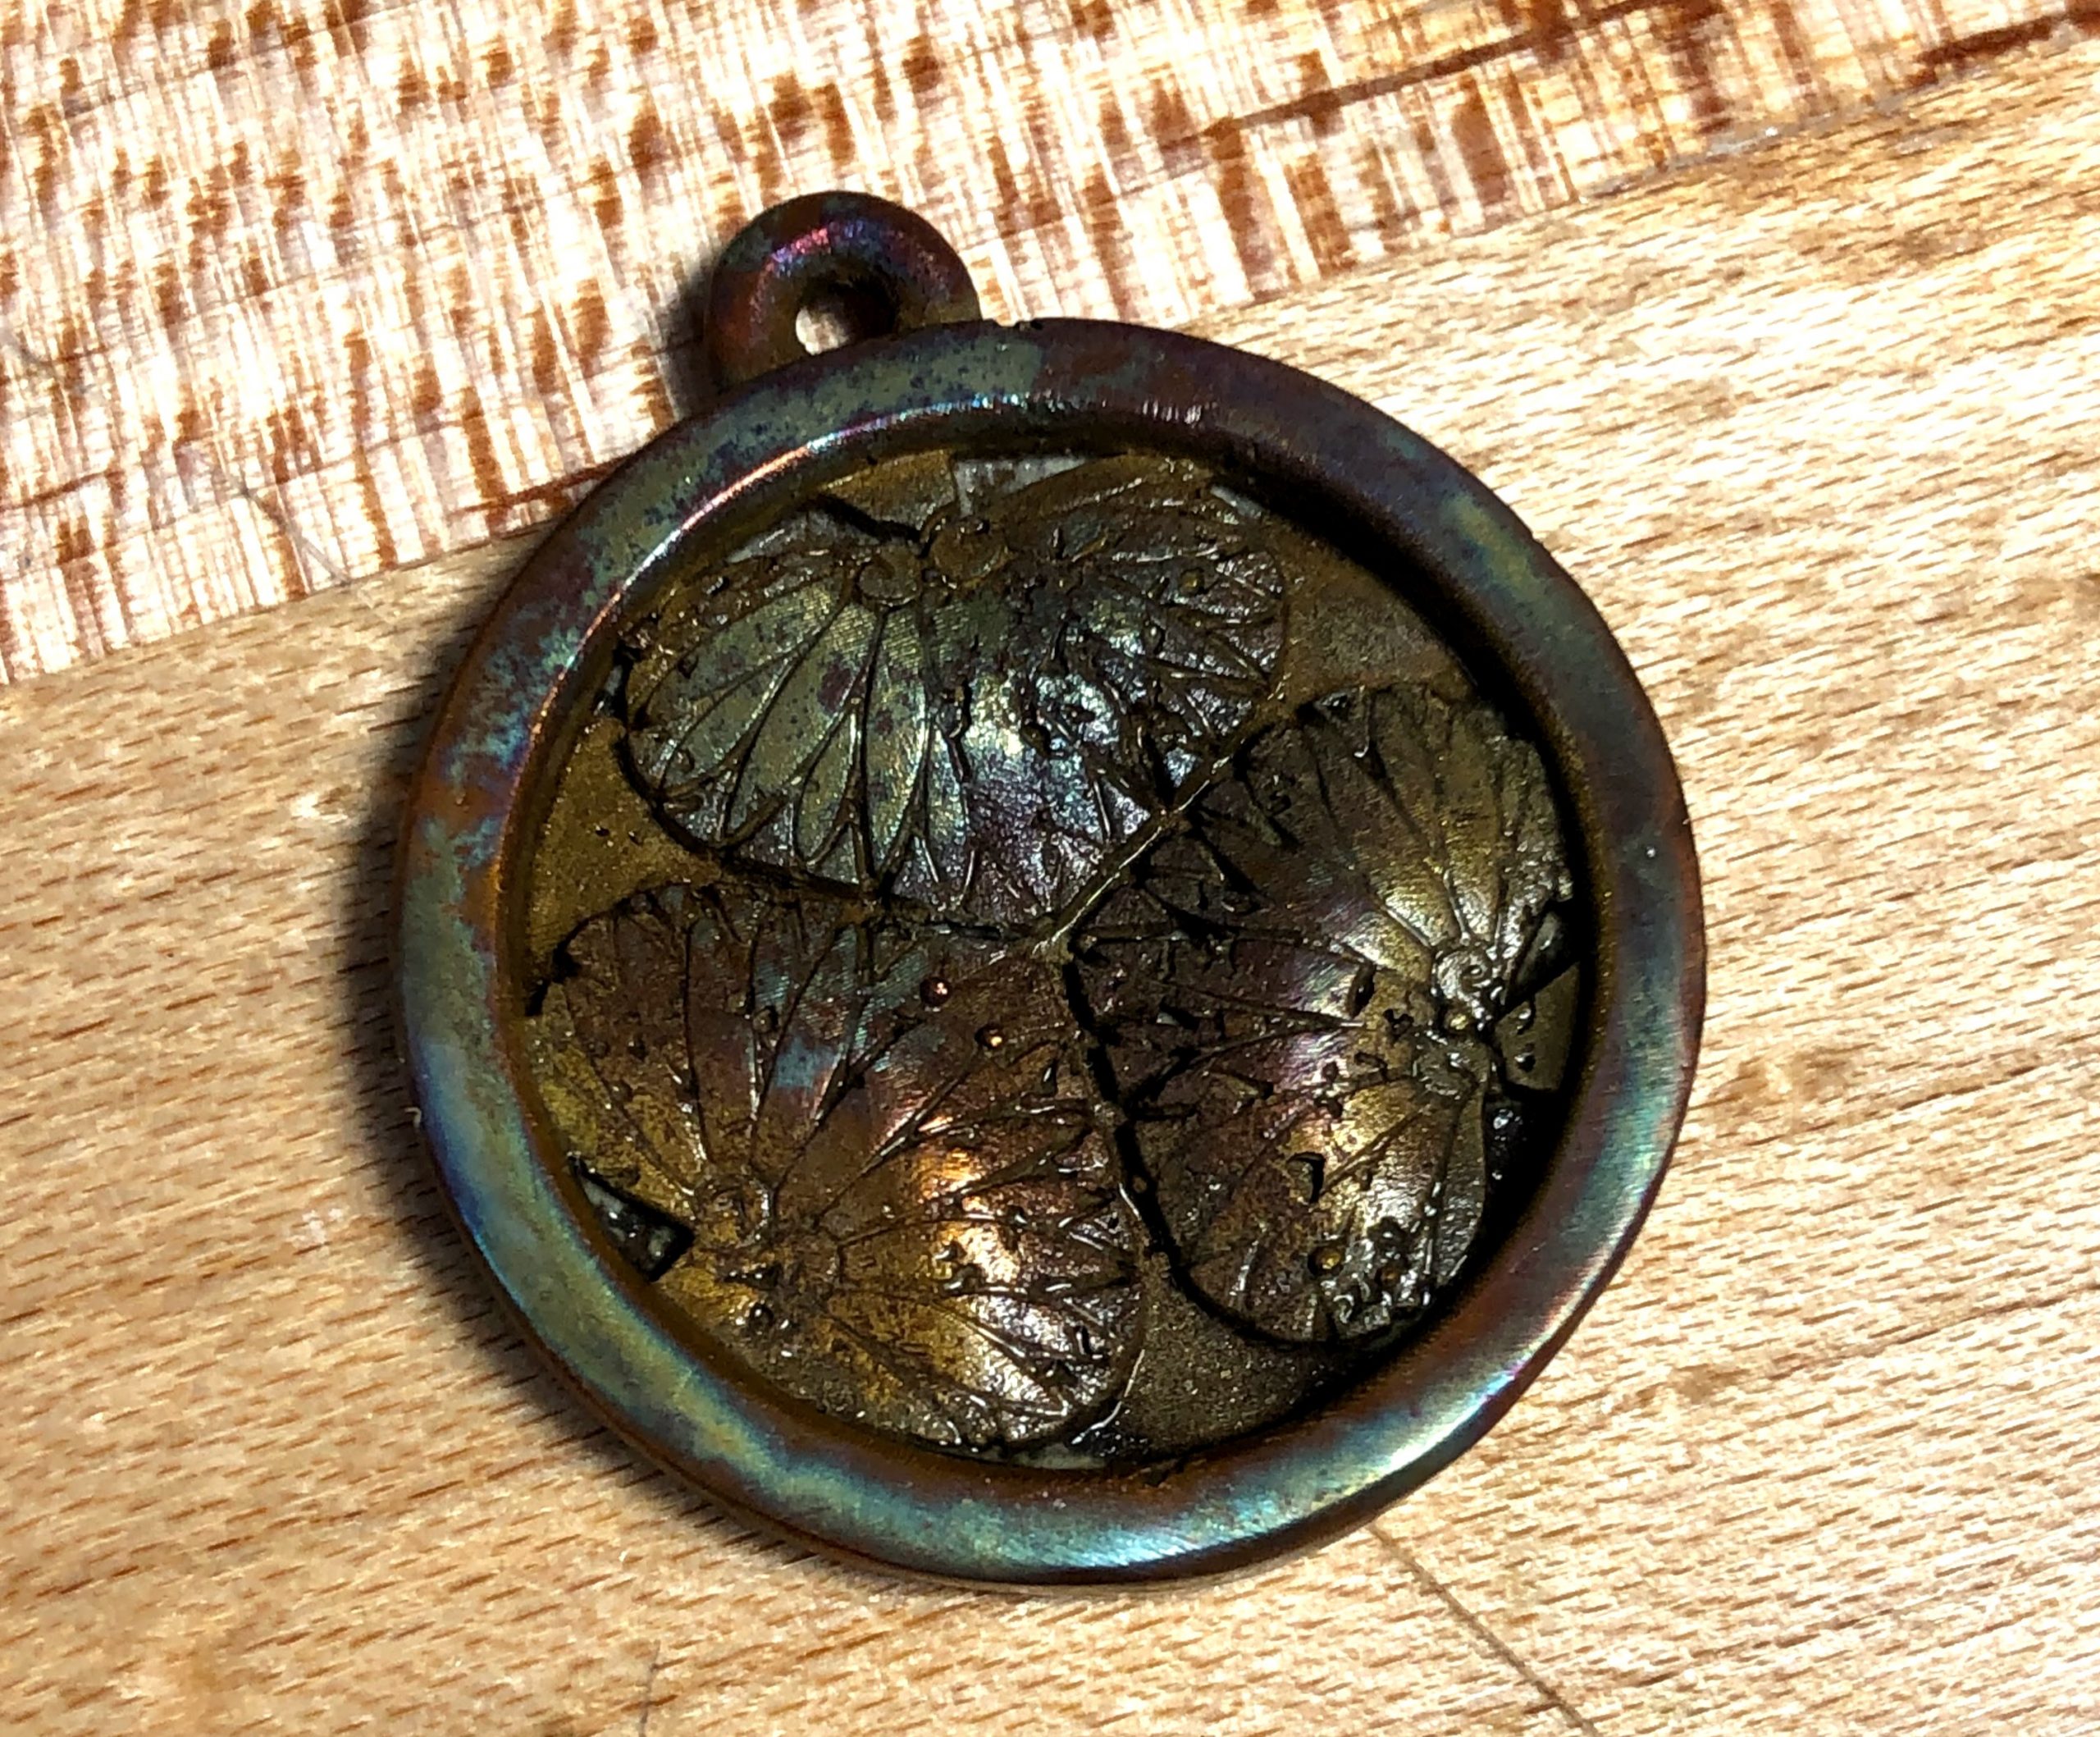
- Flame coloring experiments
-
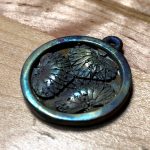
- You can get so many colors out of this metal!
-
- Seriously!
-
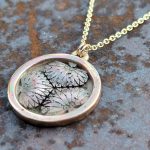
- Final Tokugawa pendant

Equipment List
Here’s what I use.
- Practical Casting: A Studio Reference by Tim McCreight
- TableTop QuikMelt 30 Furnace (for melting metal)
- TableTop RapidFire PRO-LP Programmable Furnace (for burnout)
- FOV Premium Blend Investment (there’s probably better stuff but this works for me. Nicer material might yield a better surface finish?)
- Sprue base(s)
- Flask(s)
- Sprue wax (this is a lot of wax, you should probably buy a smaller quantity)
- Wax wire
- Sticky wax
- Wax pen
- Handheld blender (for mixing investment)
- Lortone 3A Rotary Tumbler
- Stainless steel tumbeling media mix
- Scale (0.1 g resolution or better)
- Respirator
- Safety glasses
- Vacuum chamber (that’s a generous word for it- I used a coffee can, Lexan disc, and an old mechanical pump)
- Quench bucket (5 gal bucket of water)
I think that’s most of it… if it looks like anythings missing drop me a line.
My General Process
I’m wearing gloves and safety glasses (and sometimes a respirator) for pretty much this entire time.
This is usually a two-day affair. It makes a great weekend project.
- Make a pattern (either carved wax or 3D printed)
- Make the sprue tree
- Set tree in base install flask
- Mix, debubble, and pour investment
- I often debubble by vigorously tapping the container, then vacuuming bubbles out in the chamber while agitating it
- Before pouring, I like to brush the tree with isopropyl alcohol and give it a quick shake to reduce bubbles
- Wait (at least an hour, I usually let it sit overnight)
- Remove sprue base from flask
- Burnout wax/printer resin. Flask should be opening-up here. Sometimes I start it out opening-down (with a tray underneath to collect the wax) then flip it. Wax should burn out cleanly. For my 2.5″-3″ flasks, here’s the rough burnout schedule I use:
- Ramp to 300°F over 15 minutes
- Hold for 1.5 hours
- Ramp to 1250°F over 3.5 hours
- Hold for at least 90 minutes (you’re supposed to hold a few hundred degrees below the metal pour temperature, I usually just keep it at 1250°F)
- Pour metal
- Allow oven to cool back to ambient temperature with door closed
- Melt metal. Note that pouring temperatures are higher than melting points.
- Turn on vacuum chamber and put a silicone disc on top to insulate the lid
- Place flask on silicone disc
- Pour metal (carefully)
- Let cool to a dull red, then quench in the water bucket
- Clean the part with a wire brush over the bucket (not in a sink)
- Thoroughly clean flask with a wire brush to remove investment (very corrosive)
Misc. Notes
Some people have experimented with using printed PLA parts as patterns. I haven’t done this, I’ve only worked with wax and castable resins.
Shibuichi is traditionally 25% silver/ 75% copper. I used 20% silver/ 80% copper, which also worked well.
Ventilation is important! Burning wax and resin makes some nasty-smalling fumes.
Investment plaster is nasty to breathe- it contains free silica which can cause cancer. I aways wear a respirator and work outside while handeling it in its powder form, and clean my work area and tools when I’m done.
2 thoughts on “Lost Wax Casting”
Thanks for this, bookmarked. I lack an electric furnace and a vacuum chamber, so my finishes always end up mediocre. Also I use a FDM printer for this, but I’ve only ever needed to use this for making some specialty gears or brackets or teaspoon or whatever. Your hobbies are kind of right up my alley, but I ended up making sheepskins instead as a new business. Dinsmoor Sheepskins. Lots of interesting chemistry in the leather tanning process. Great work!
Thank you! Glad you enjoyed the post. I’ve seen others working with FDM machines for this as well, and it sounds like they work better than I would have expected!